Upscaling Workflow with Rendair AI
Finished a render? What’s the next step? Are you doing any post-production or filtering? Use Rendair AI to elevate your renders and achieve better-quality images!
Let’s take a look at how to upscale your renders in seconds!
Watch the Tutorial
1- Go to Rendair.ai
First, go to Rendair AI, where you will see three sections: Learn, Create, Edit, and 4K Upscale.
These sections are organized based on what you want to do on the website. Since we want to only enhance the image, we should go to the Upscale section. Here, you can only change the quality of the image nothing more.
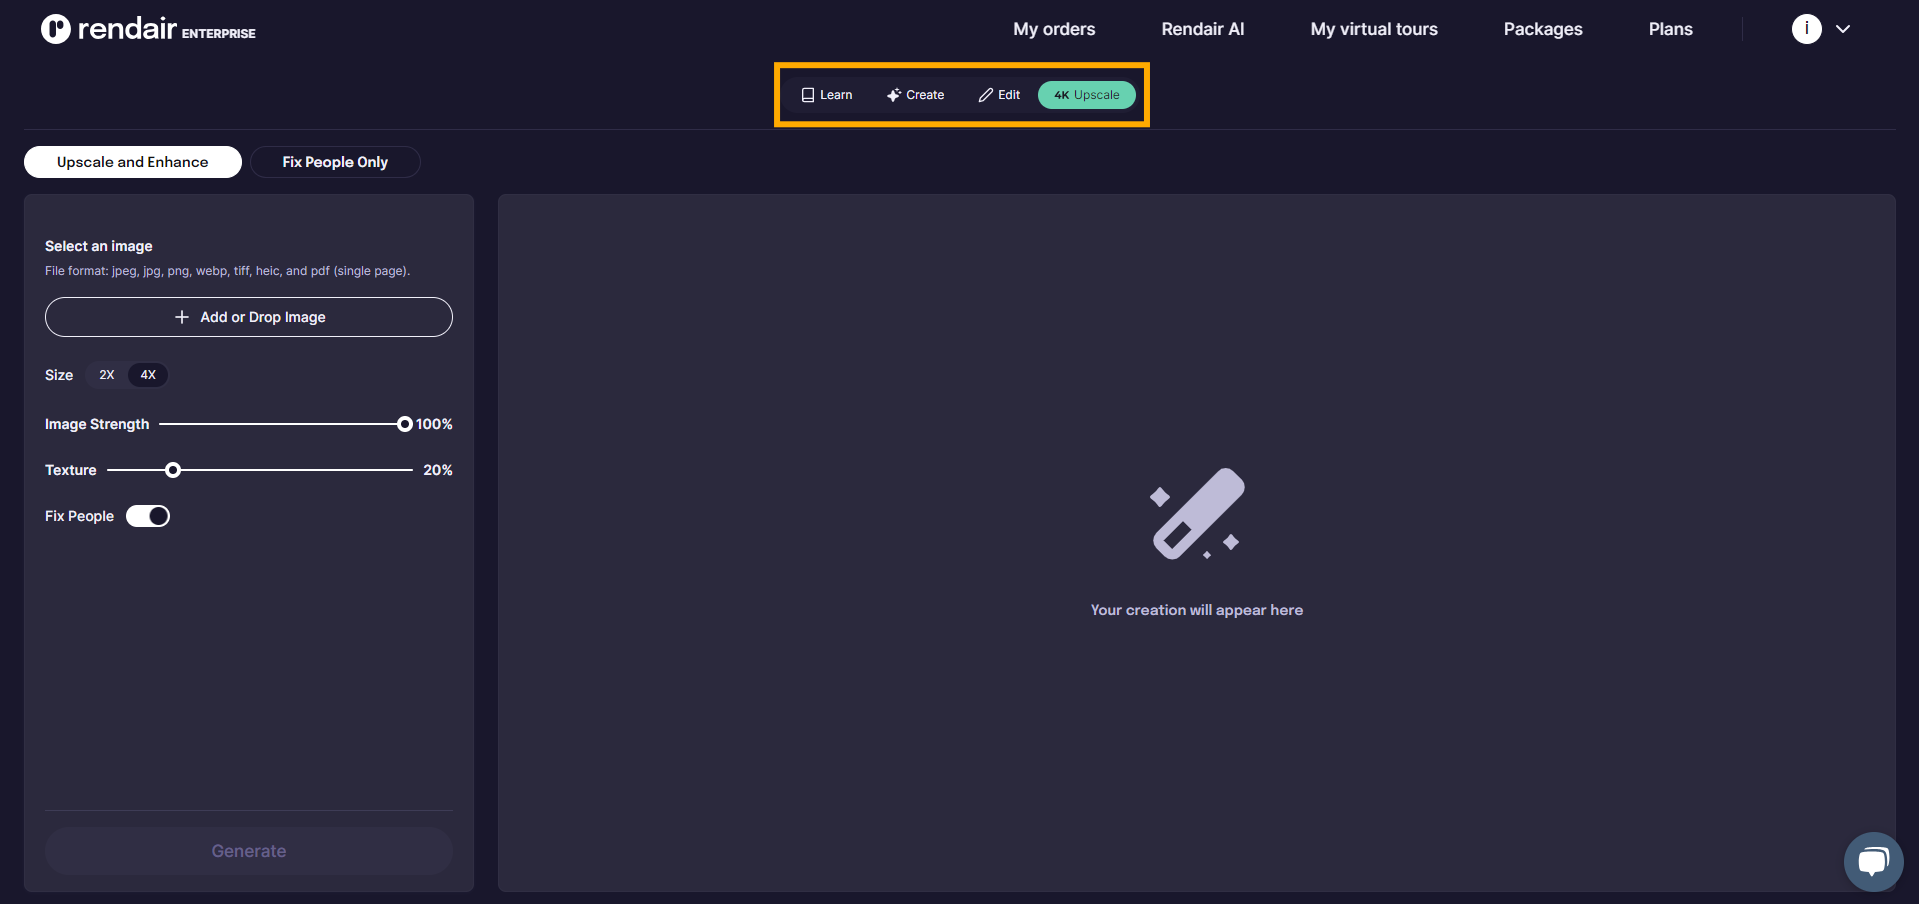
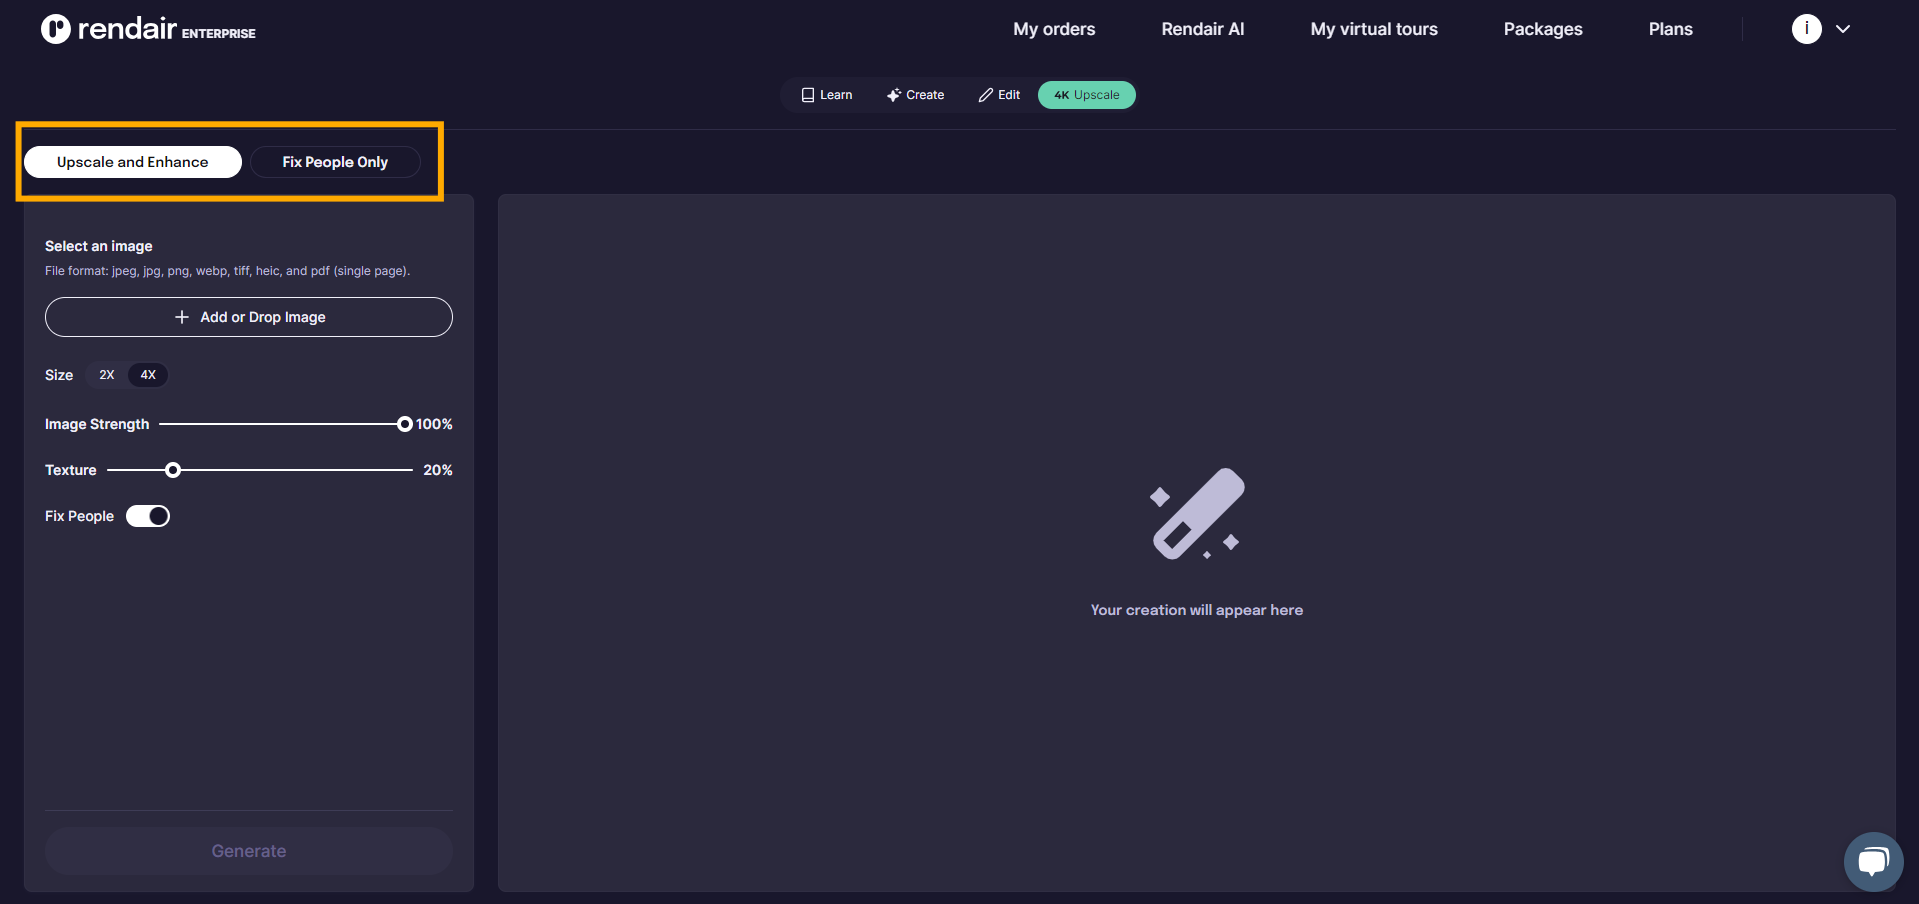
2- Choose Upscale and Enhance
Let’s choose Upscale and Enhance because we want to improve the quality of the image without changing the image.
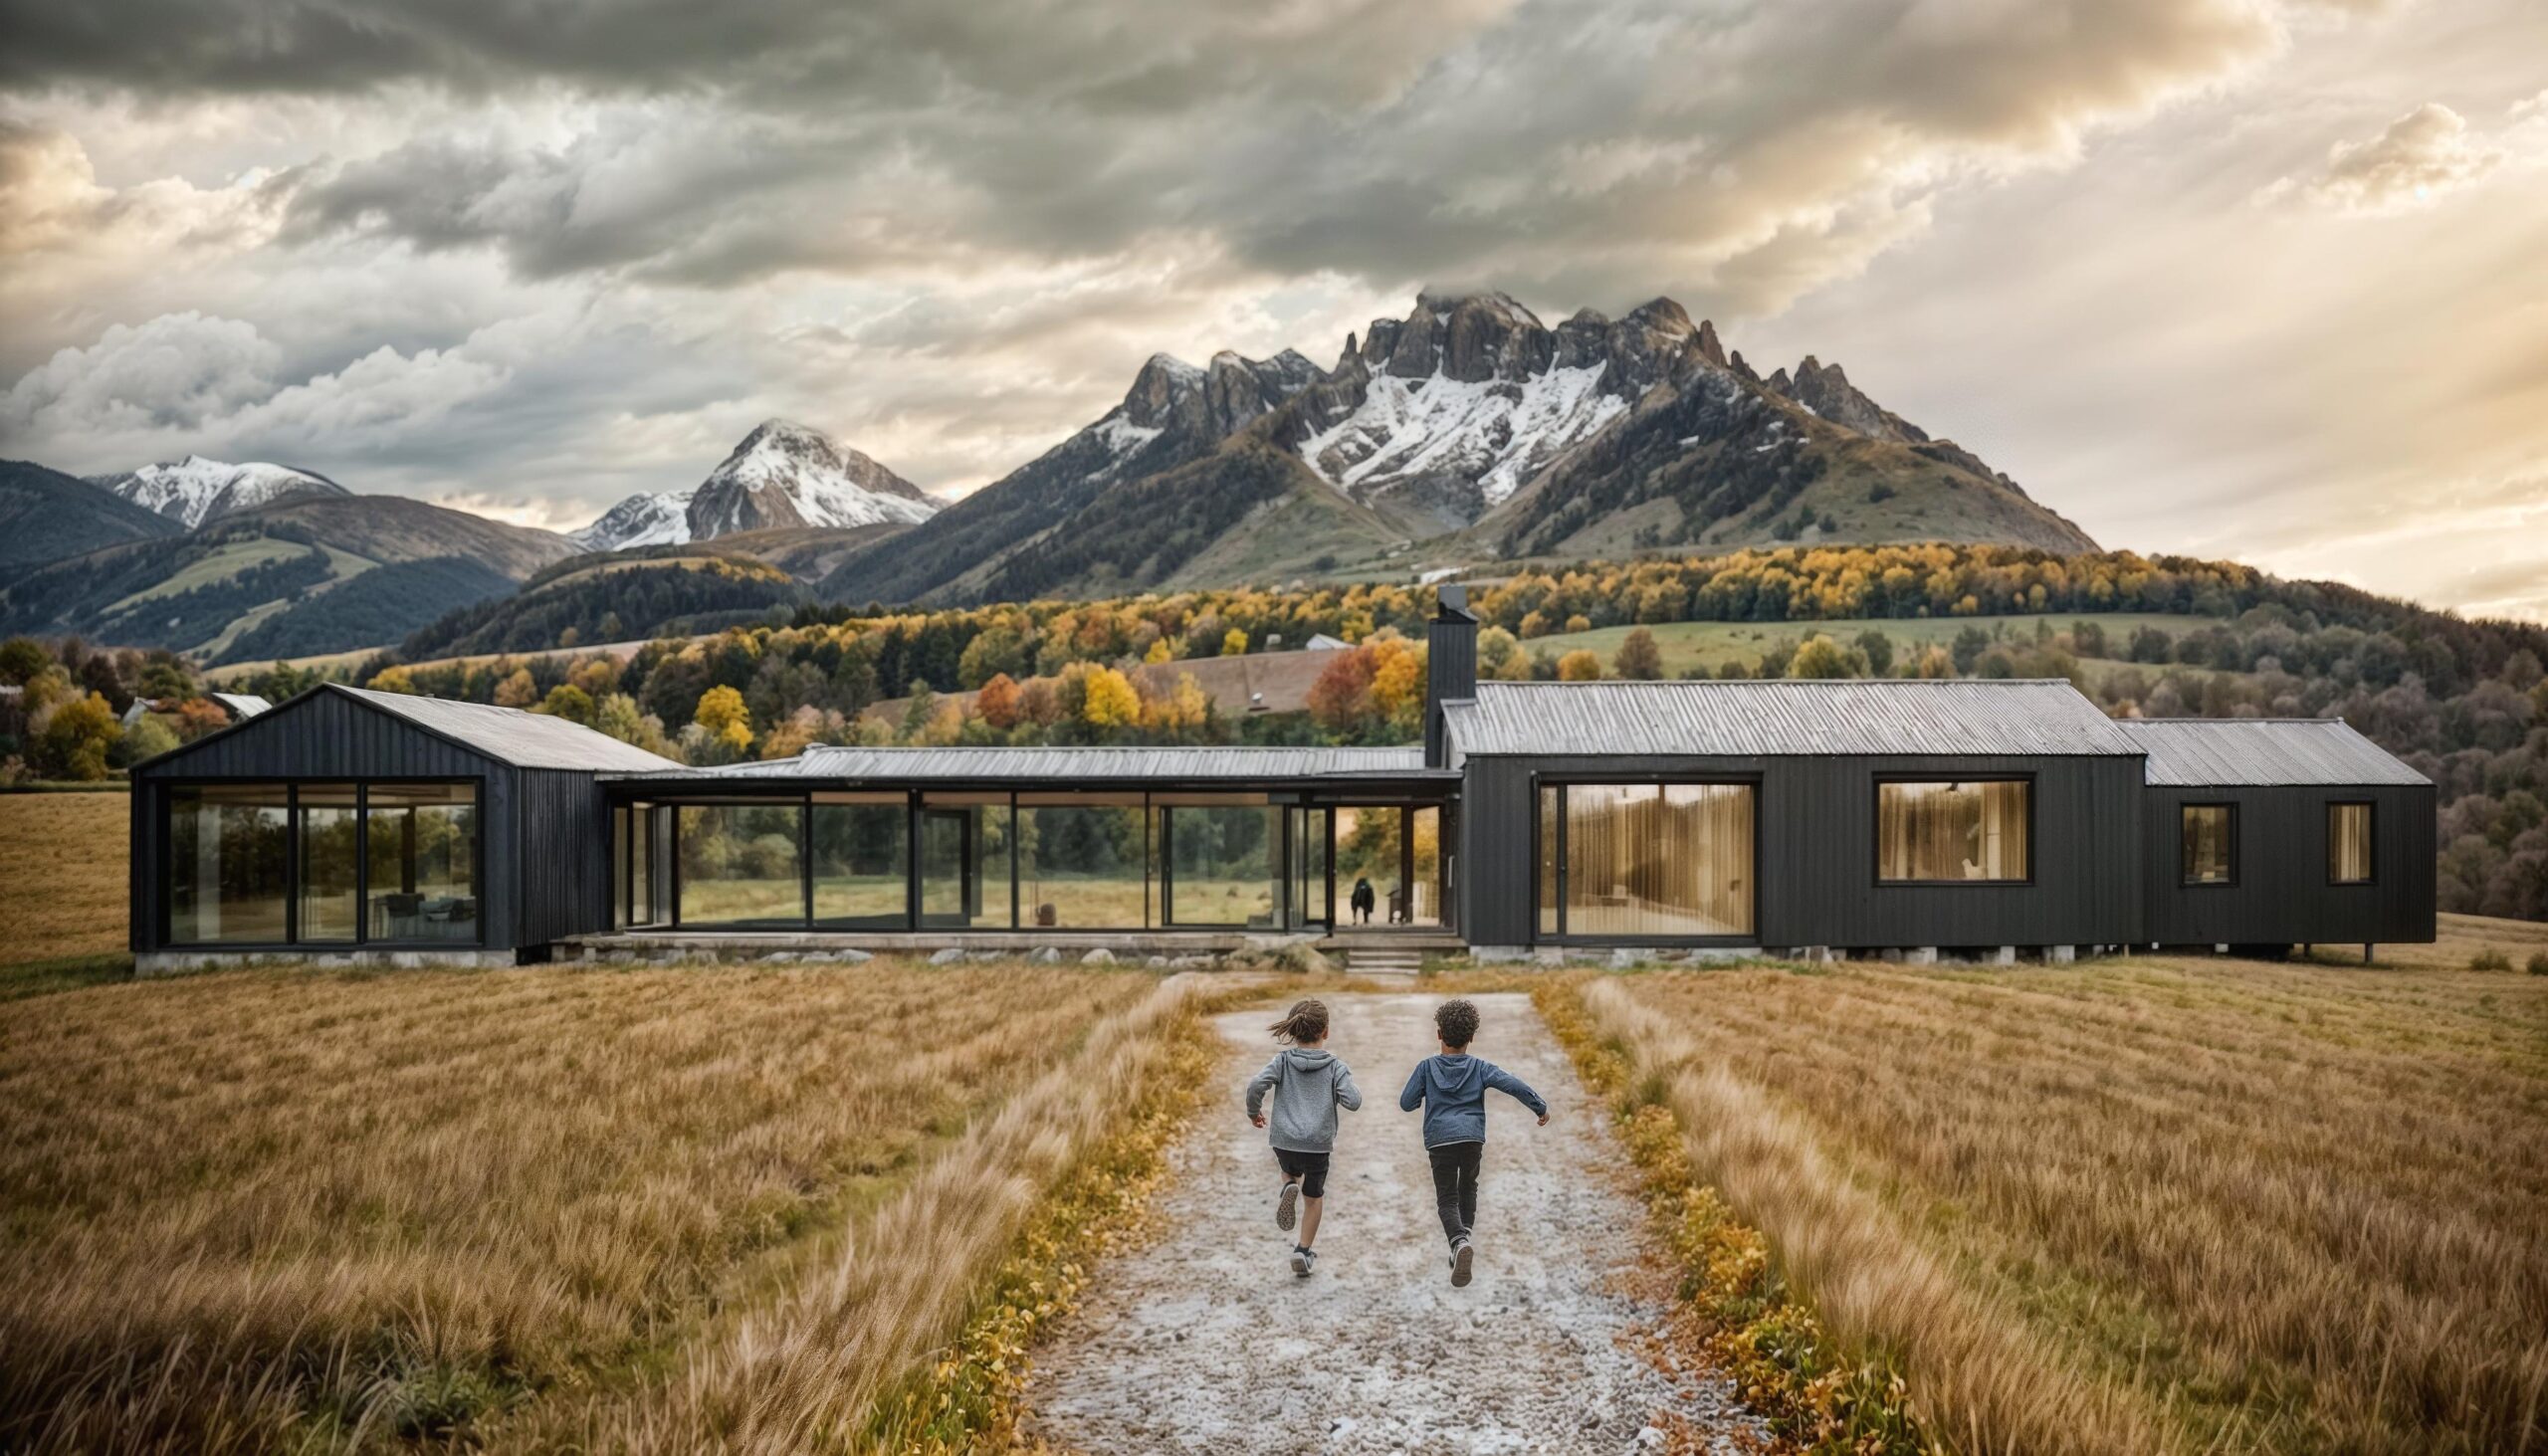
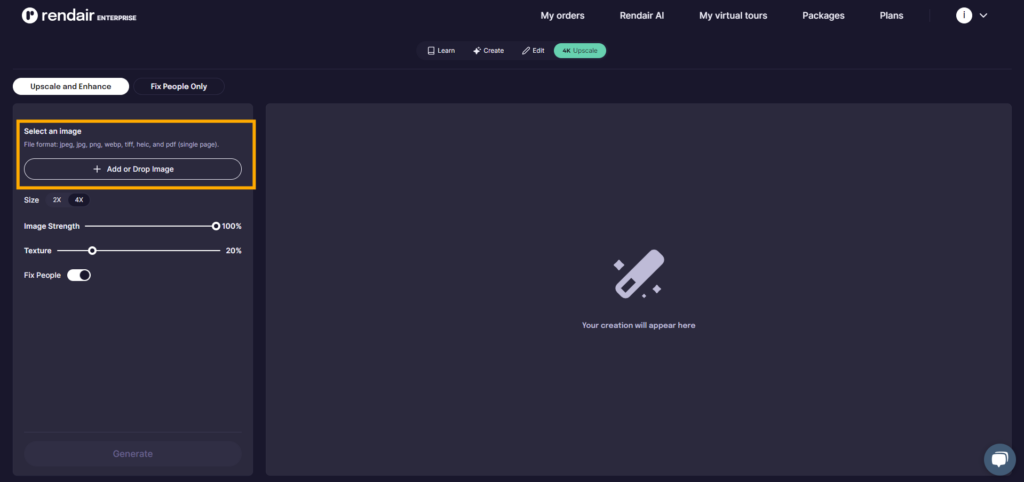
2- Upload the Base Image
Next, upload the image. In this case, it will be the site location. Simply drag the image onto the website or click “+Add Image” to upload it.
3- Choose the Size
The next step is to choose the size of the image. You can choose a 2K or 4K image size. I will go with the 2K for this time.

4- Maintain Parameters
There are two key parameters for the base image:
- Image Strength: This controls whether you want to retain the image.
- Texture: This determines how much texture you want to see.
In this case, I will set the image strength to 80 because I don’t want the image to change much but I will still leave a creative gap for the AI Model. I will keep the texture lower, around 15.
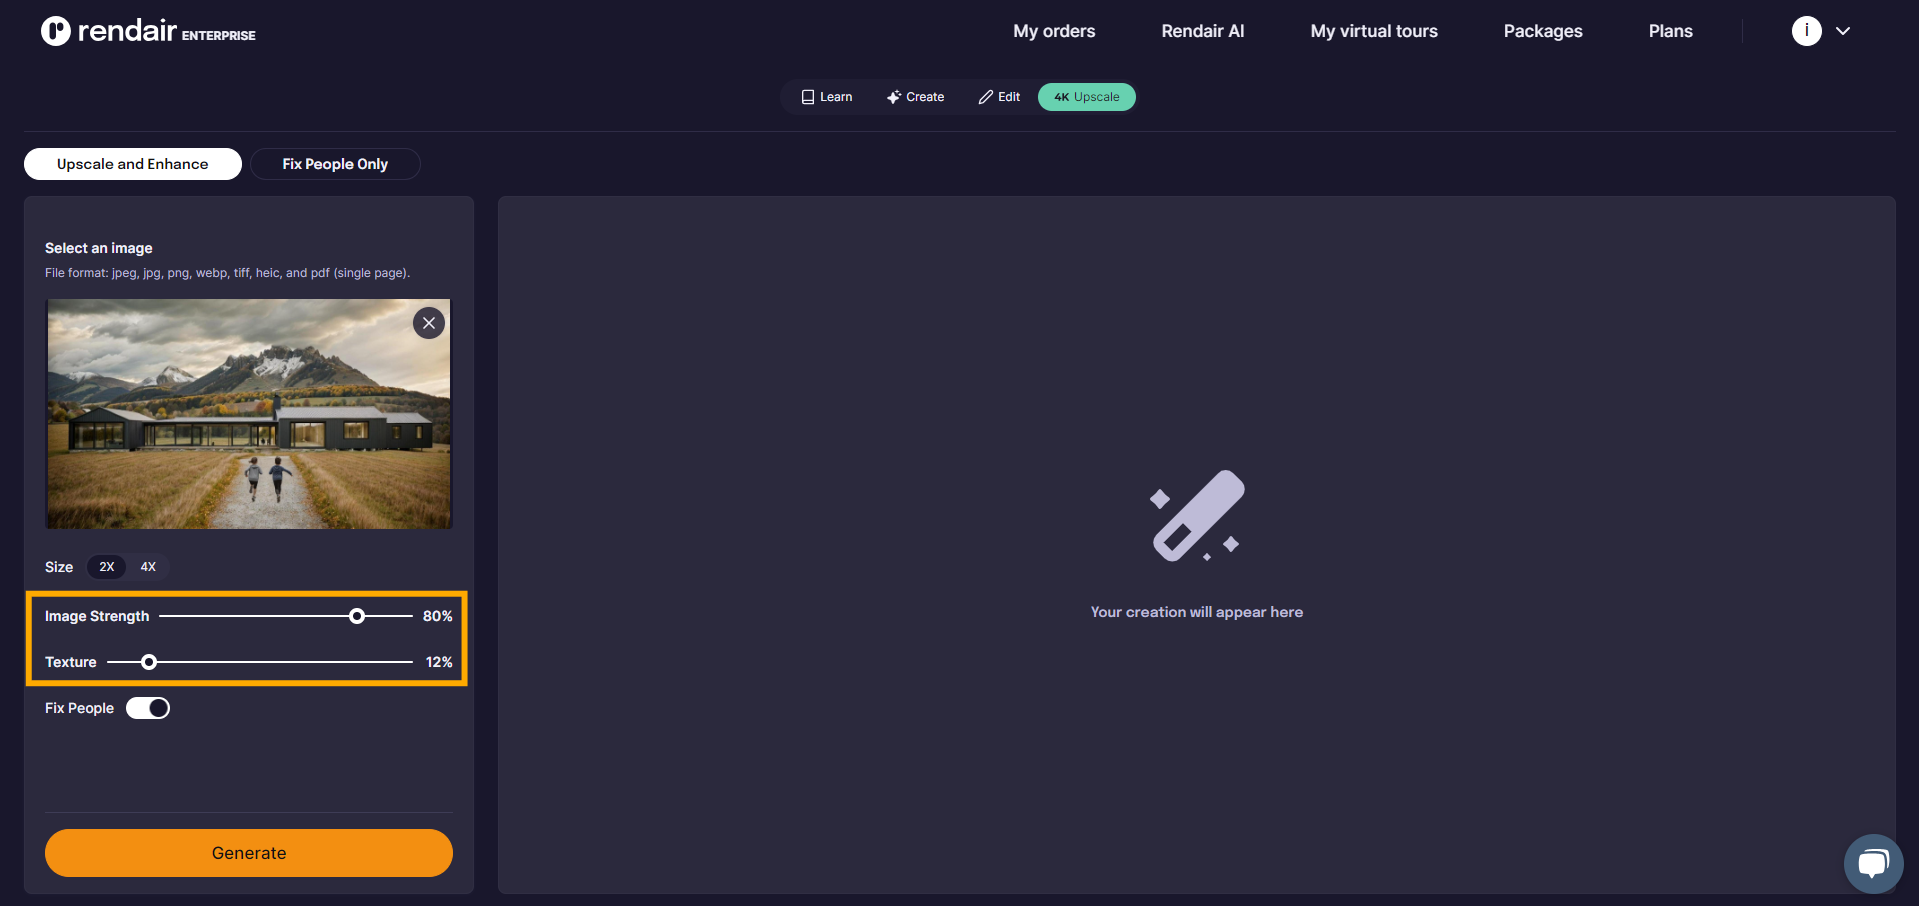
5- Fix People
In this case, since I have 2 human figures in the image I will open the fix people button, if you don’t have any human figures on your render you can leave this closed.
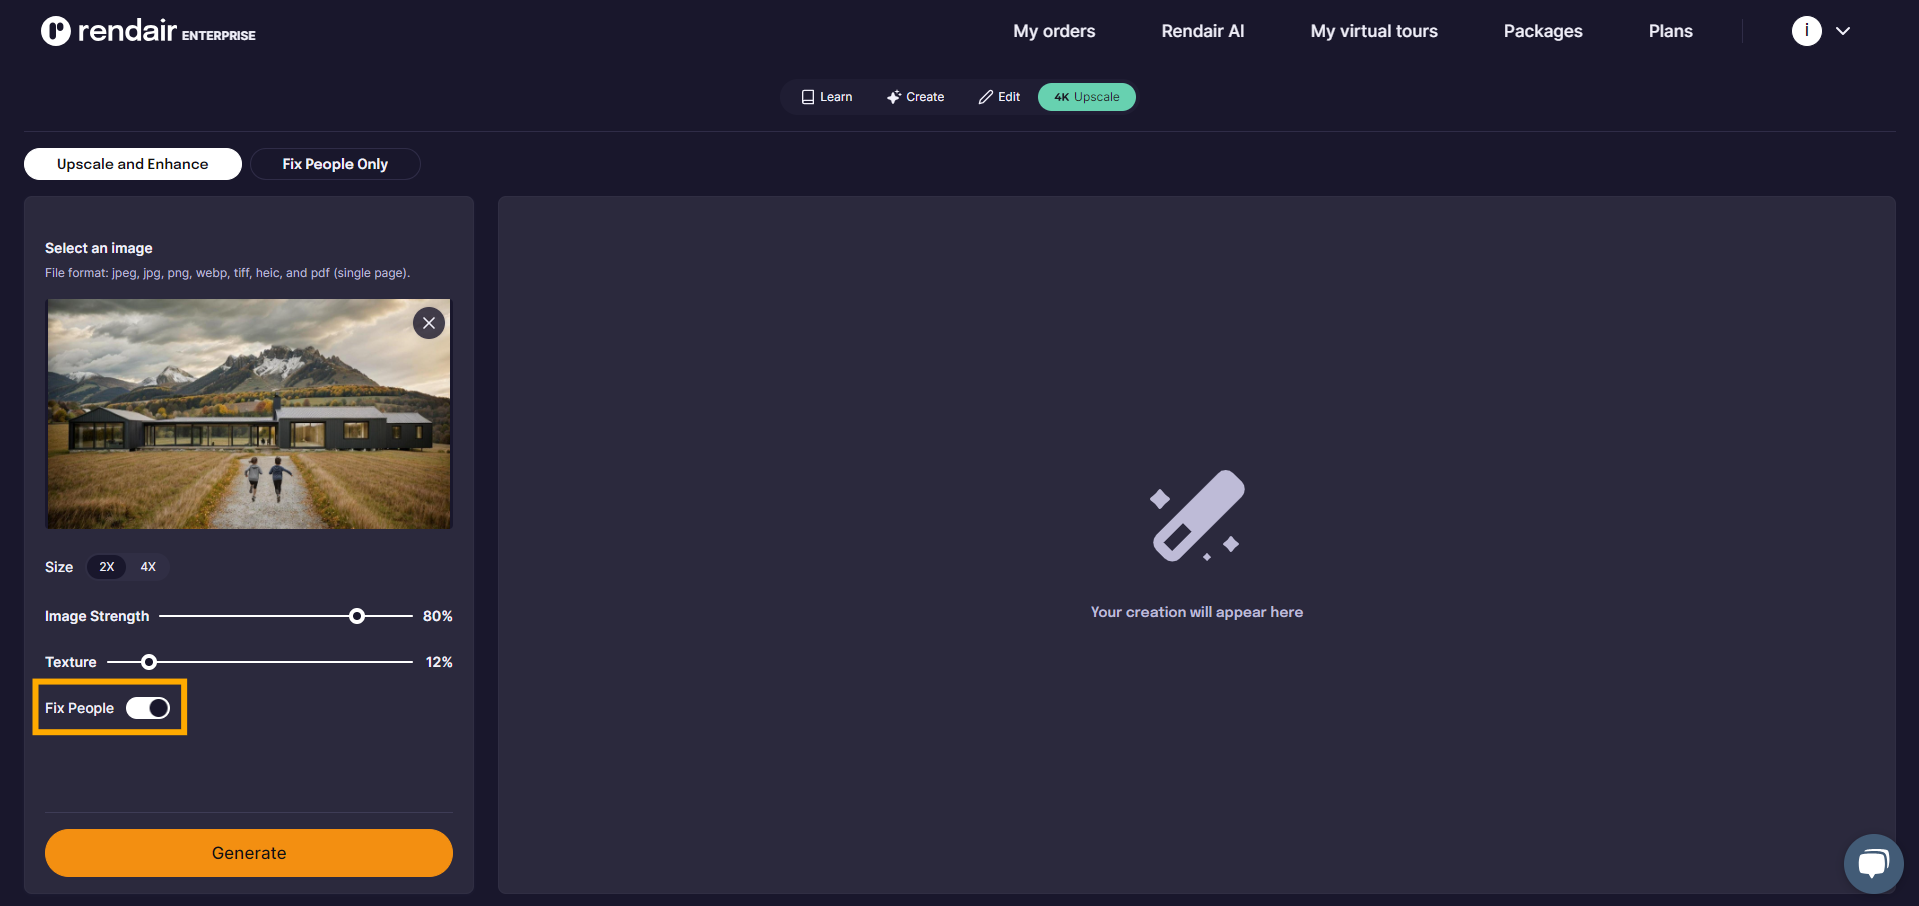
5- Hit Generate
Now we are ready to create our image. Let’s click generate:

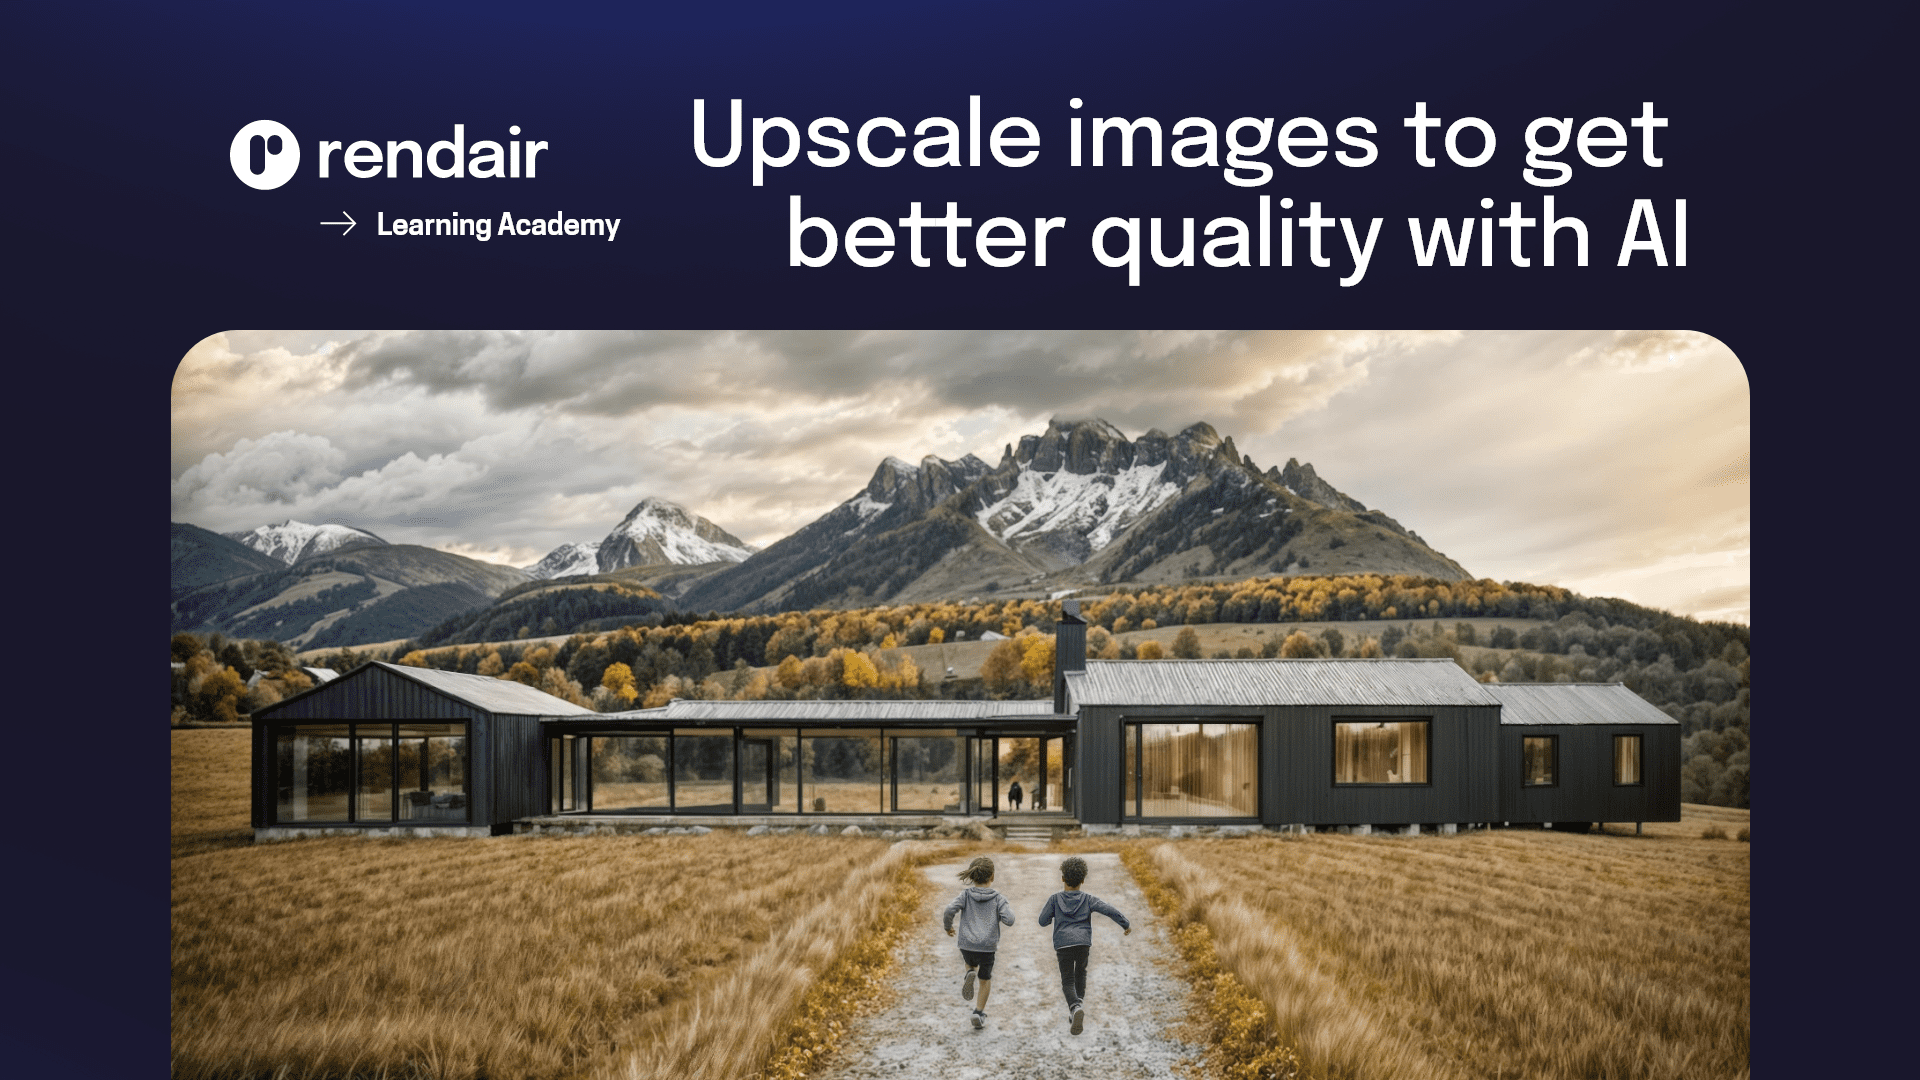
Here is the upscaled image result;