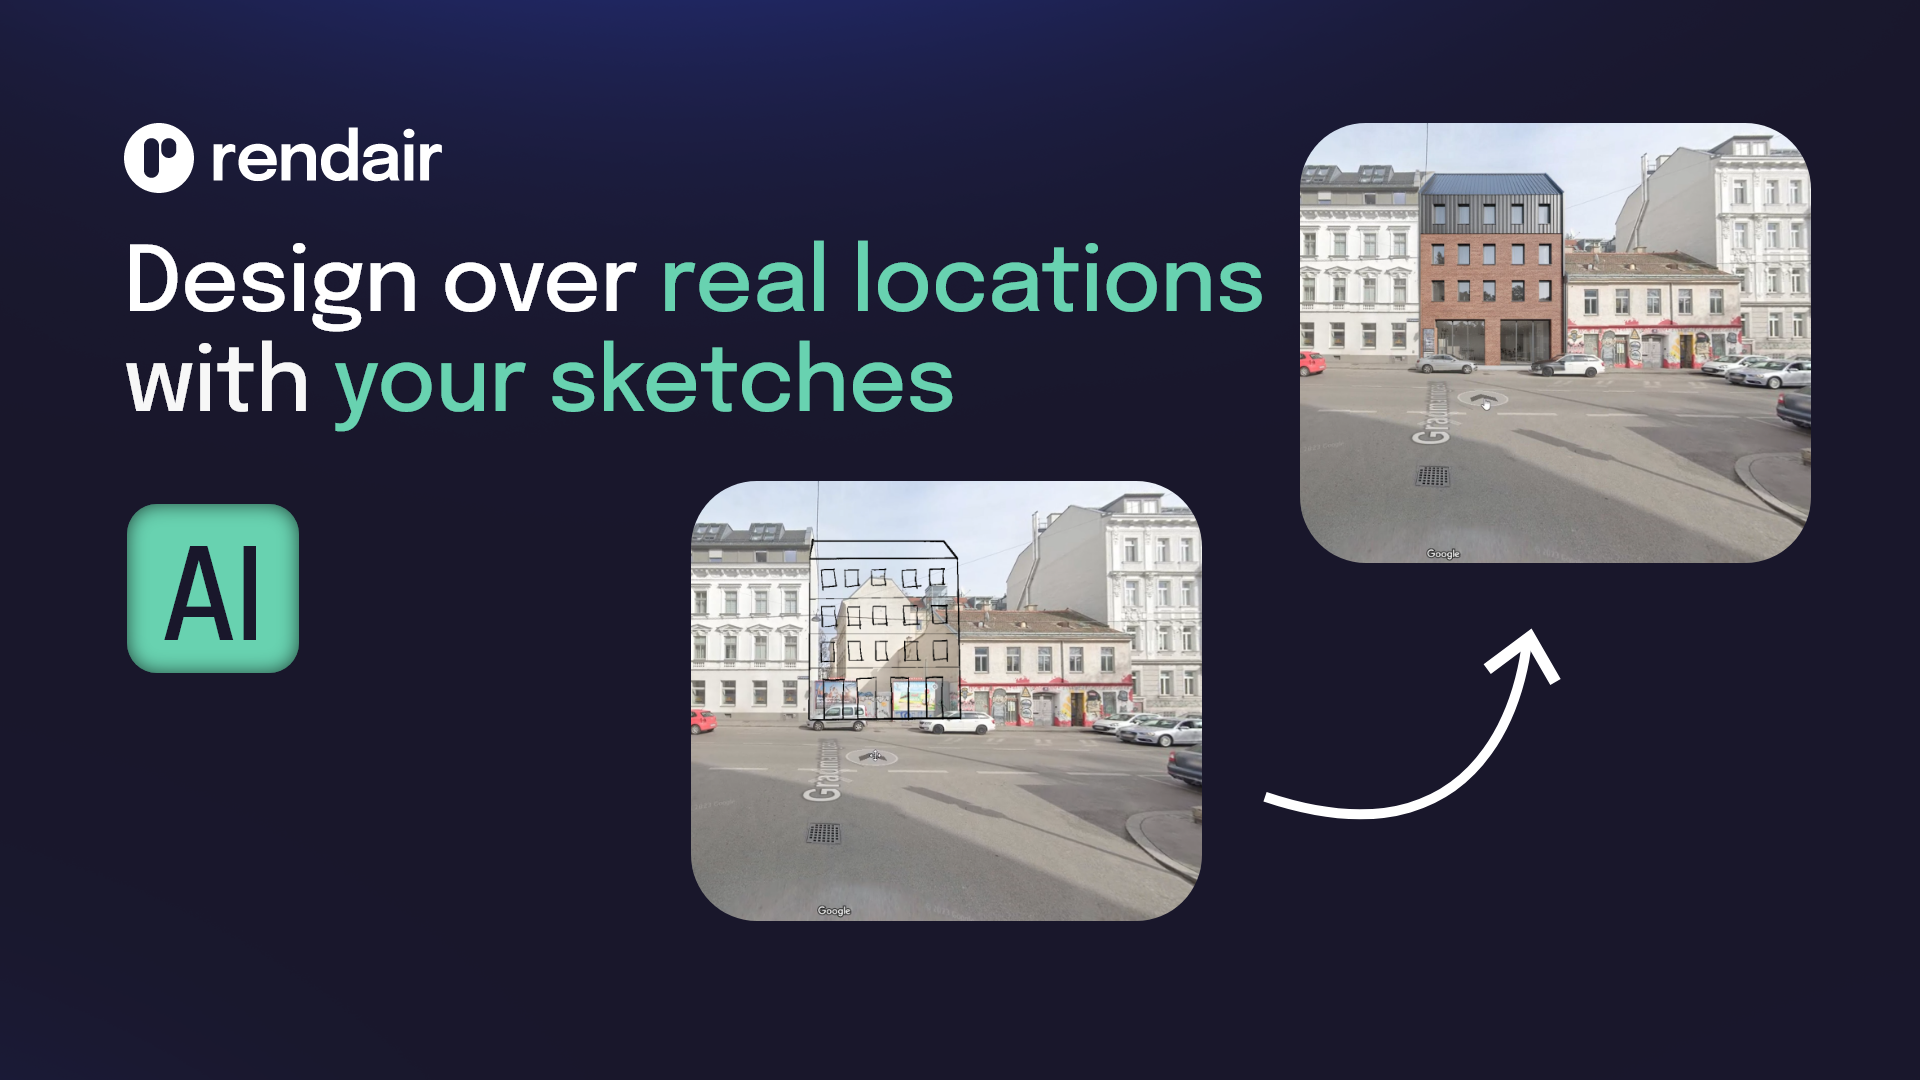
Sketch in Context Workflow with Rendair AI
A quick tutorial on how to sketch over real location images and turn them into realistic renders!
Let’s get started:
Watch the Tutorial
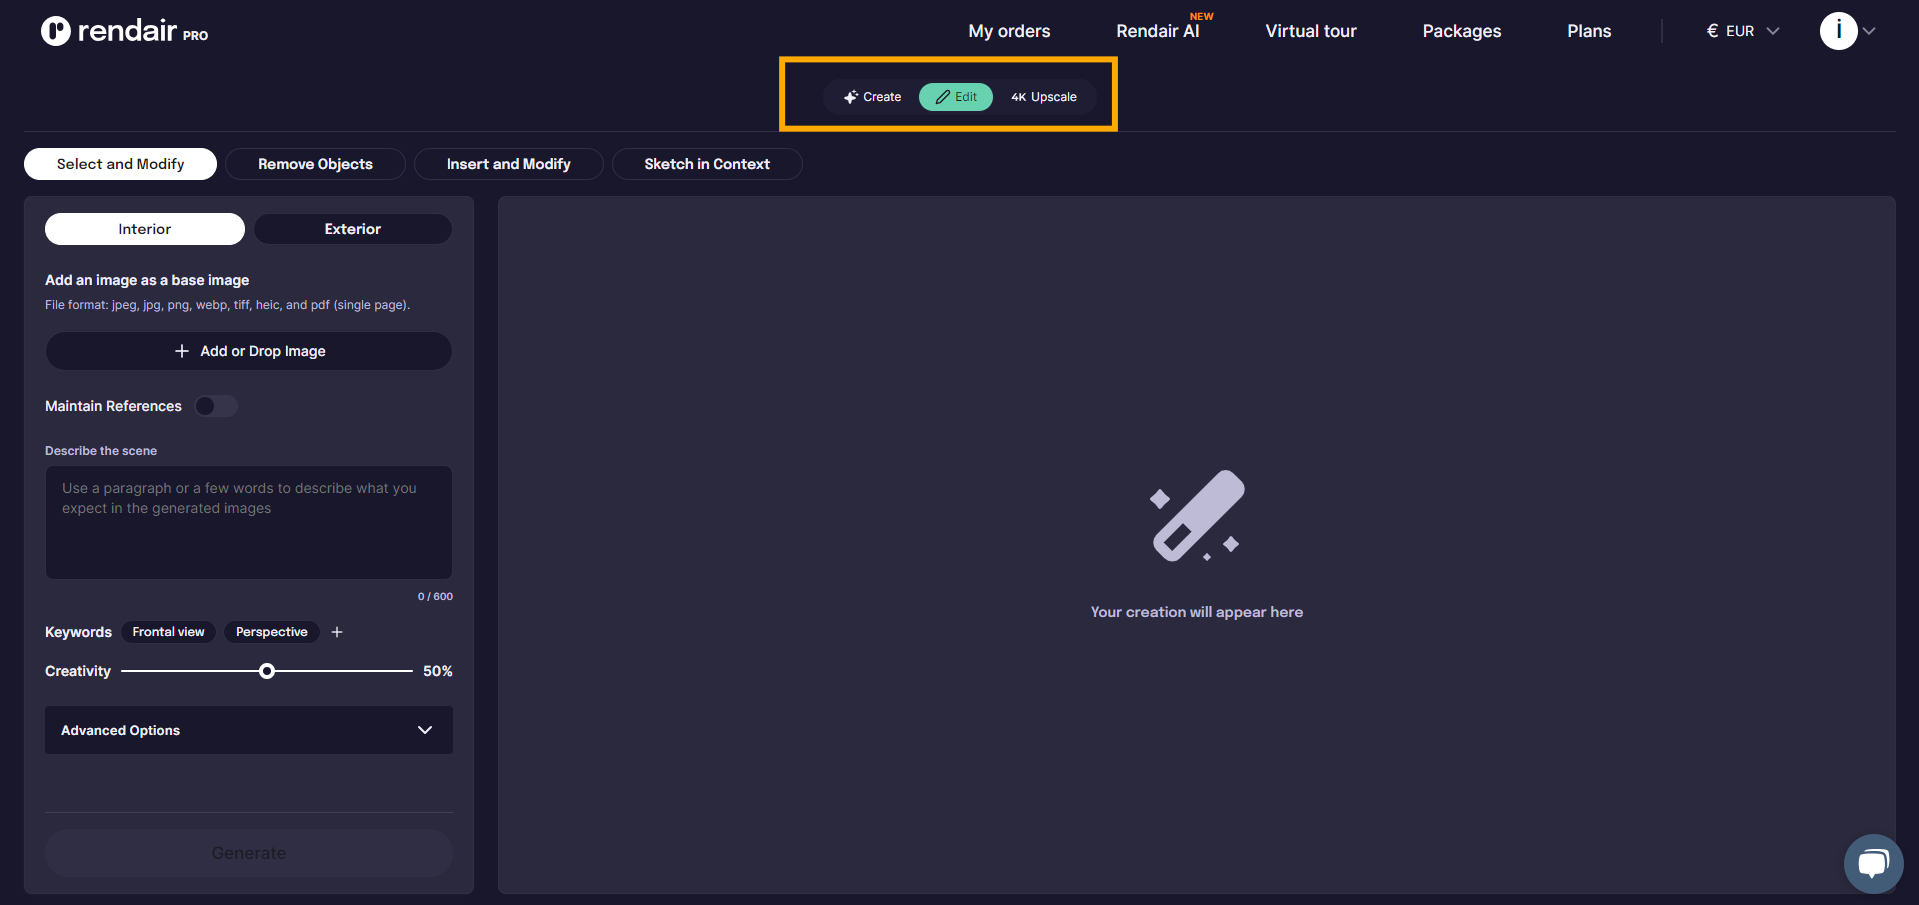
1- Go to Rendair.ai
First, go to Rendair AI, where you will see three sections: Create, Edit, and 4K Upscale.
These sections are organized based on what you want to do on the website. Since we want to create something from scratch, we should go to the Edit section. Here, you can edit renders for post-production.
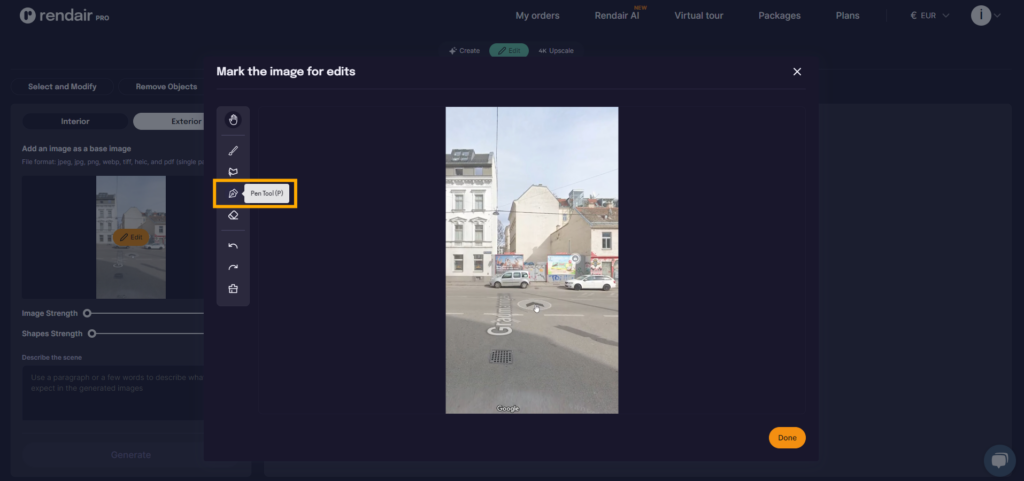
2- Choose Sketch in Context
For this example, we will choose Sketch in Context because we want to make a sketch into an existing image and then create a render.
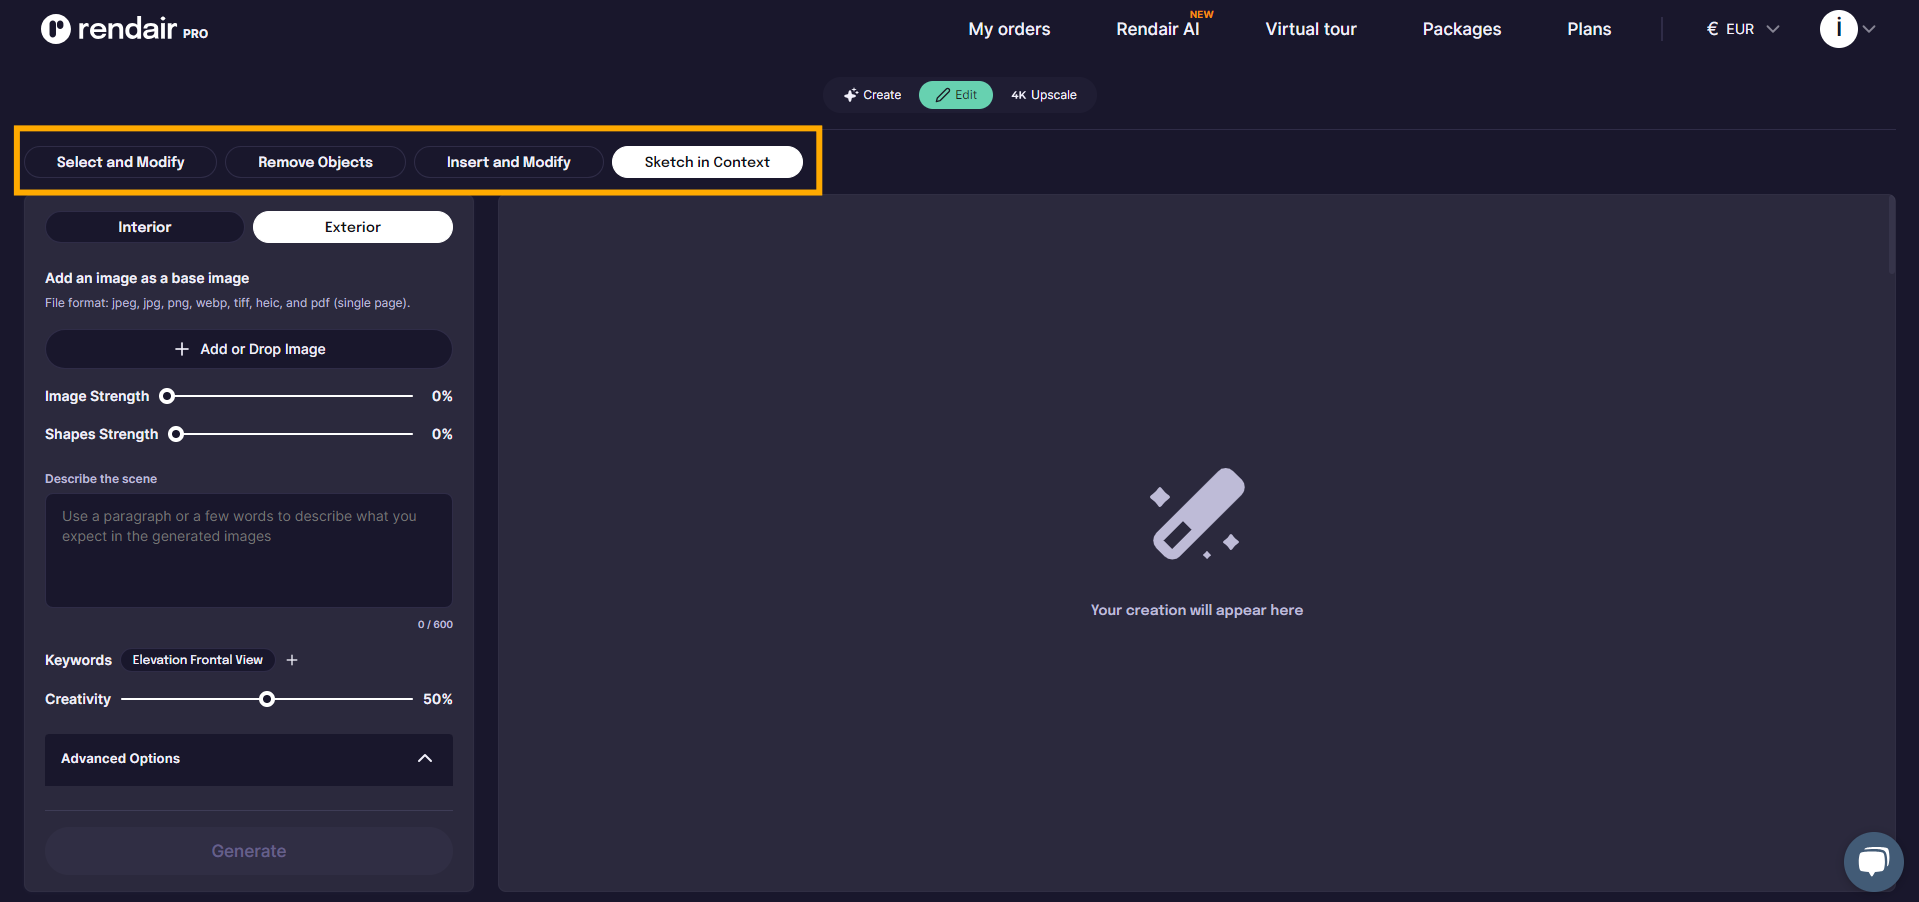
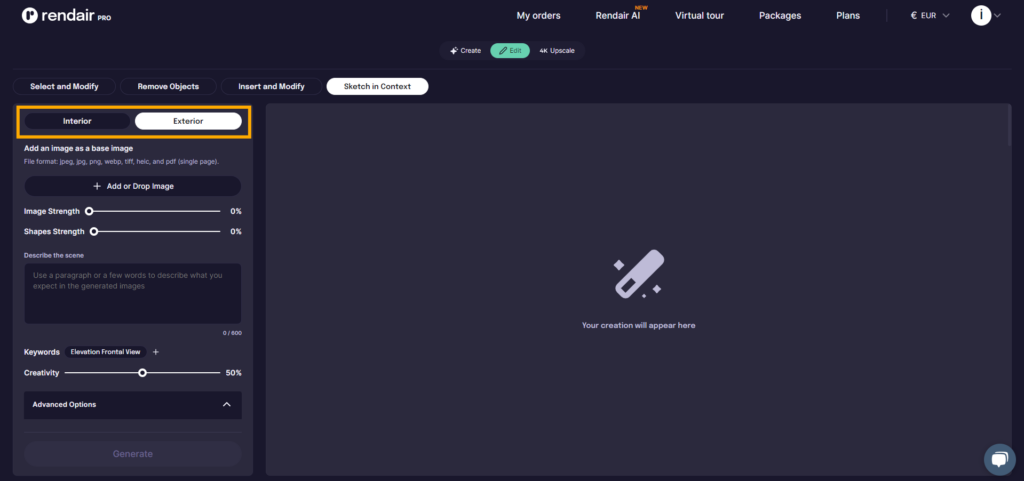
Then, choose if your image is interior or exterior.
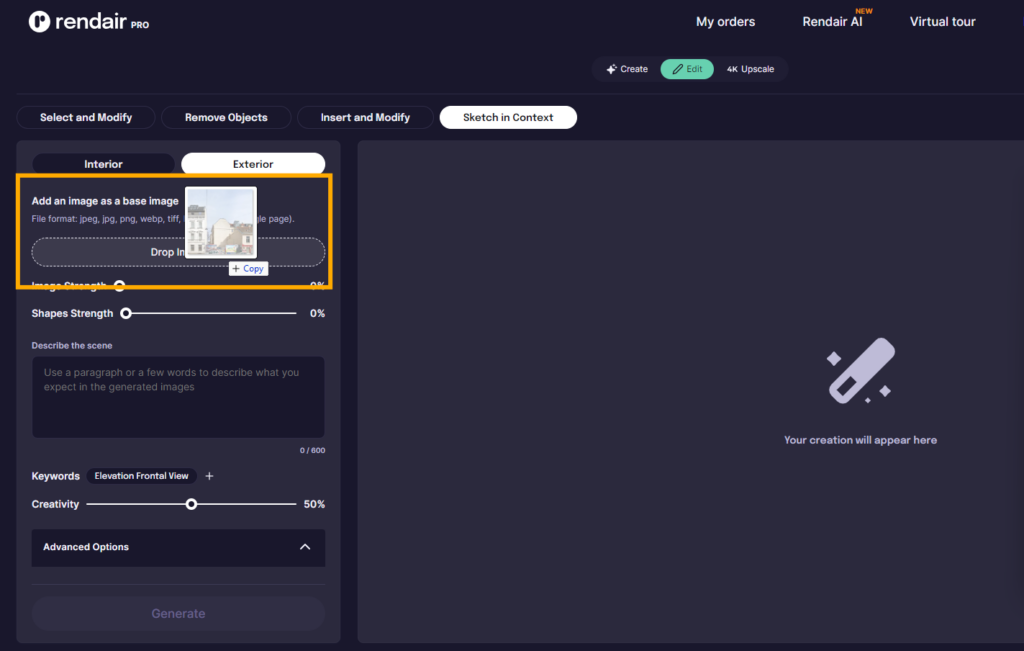
3- Upload the Base Image
Next, upload the image. In this case, it will be the site location. Simply drag the image onto the website or click “+Add Image” to upload it.
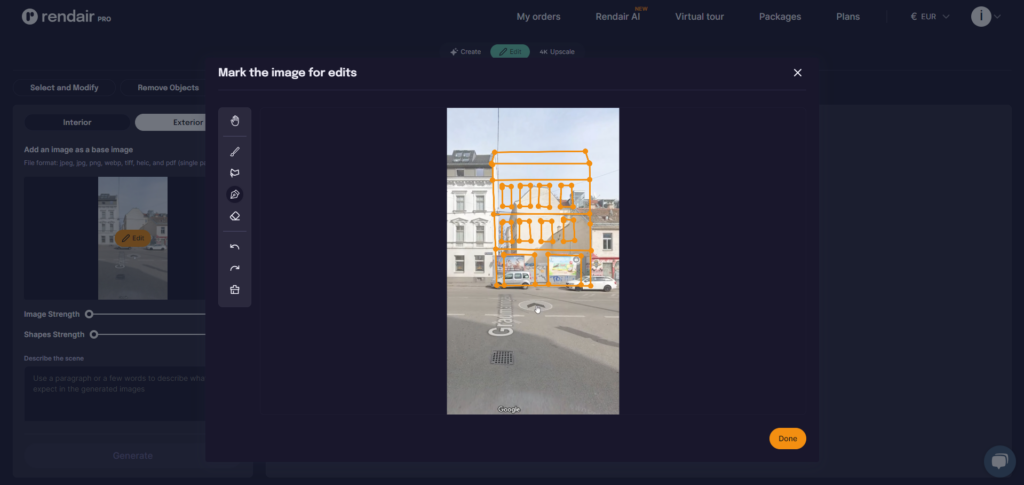
4- Sketch over the Image
A pop-up window will open for you to sketch over the image.

Click on the brush then change the brush size as you wish. Then start sketching the building. ( You can also use the Pen tool to draw like I did)
5- Maintain Parameters
There are two key parameters for the base image:
- Image Strength: This controls whether you want to retain the colors from your sketch.
- Shape Strength: This determines how closely the render will follow the shape of your sketch. Set it to 100 to keep the shapes unchanged, or lower it if you want to allow more alterations.
In this case, I will set the image strength to 0 because I don’t want any orange color from the brush. I will keep the shape strength low, around 10, because my sketching is not very precise. However, if you have a more precise sketch, I suggest keeping it higher, around 80.

6- Add a Prompt
Next, start writing the prompt. Try to describe as detailed as possible. Explain what you have sketched, the view, atmosphere, materials, style, etc..
My prompt will be:
a facade photo of a residential building in the city center, traditional European design, plaster with details on the windows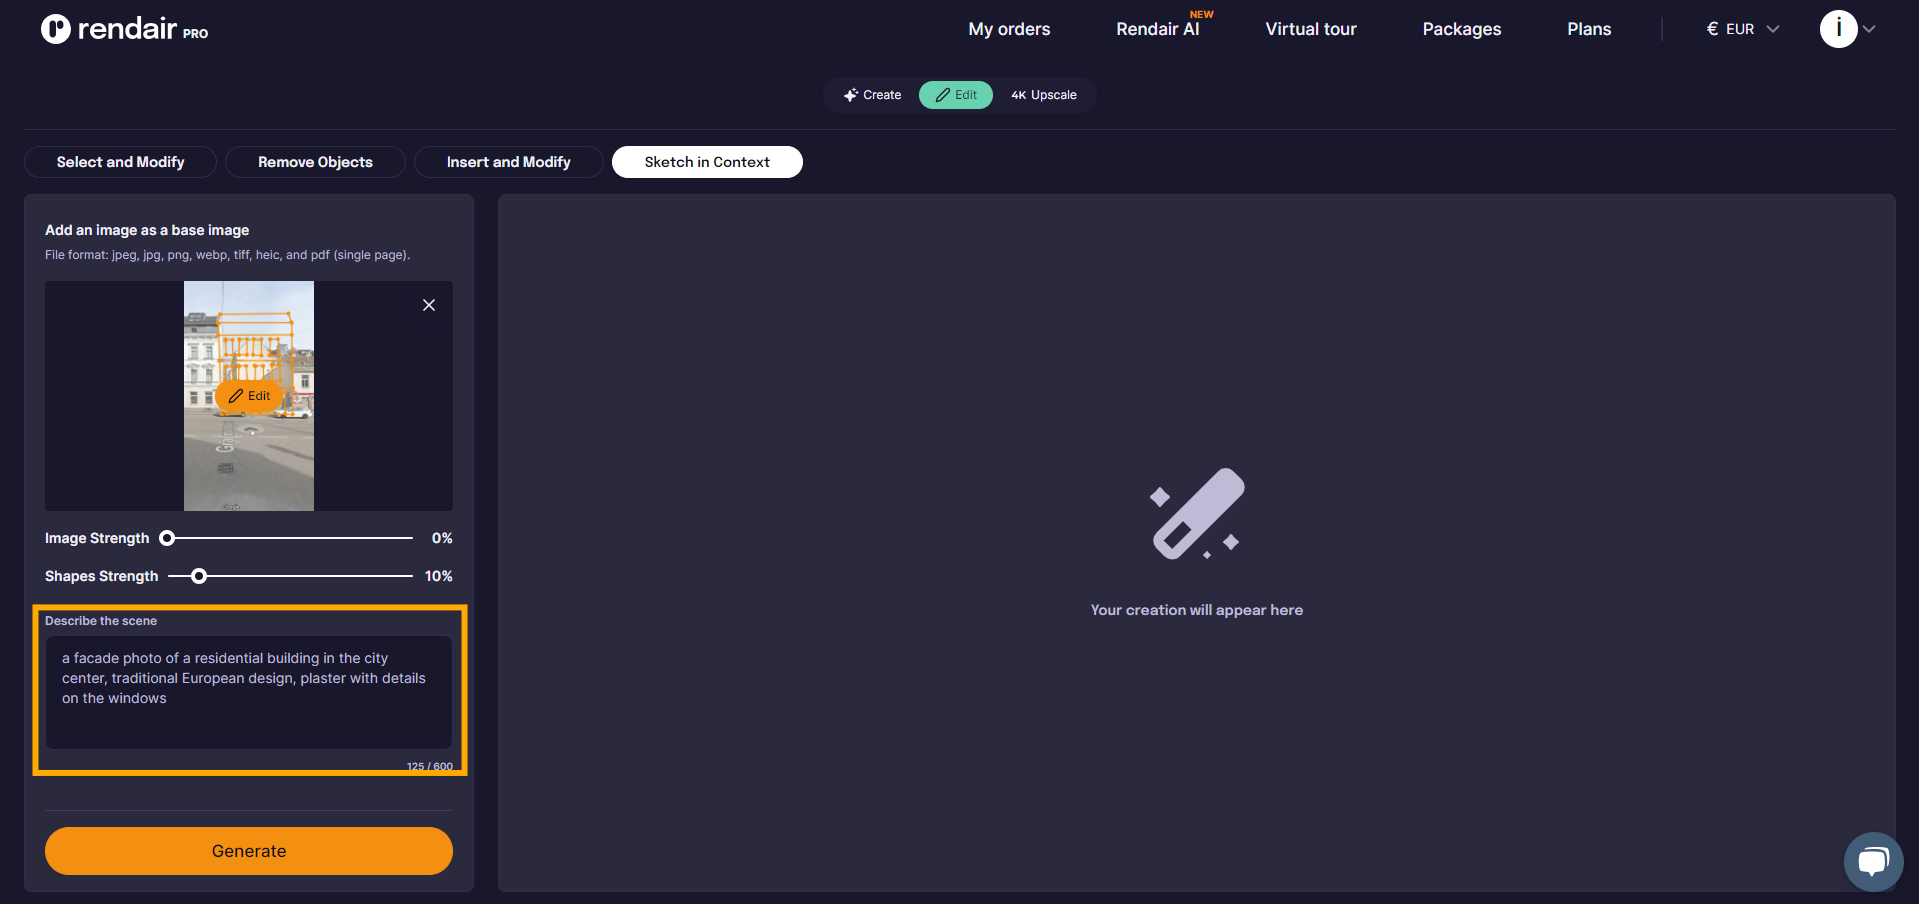
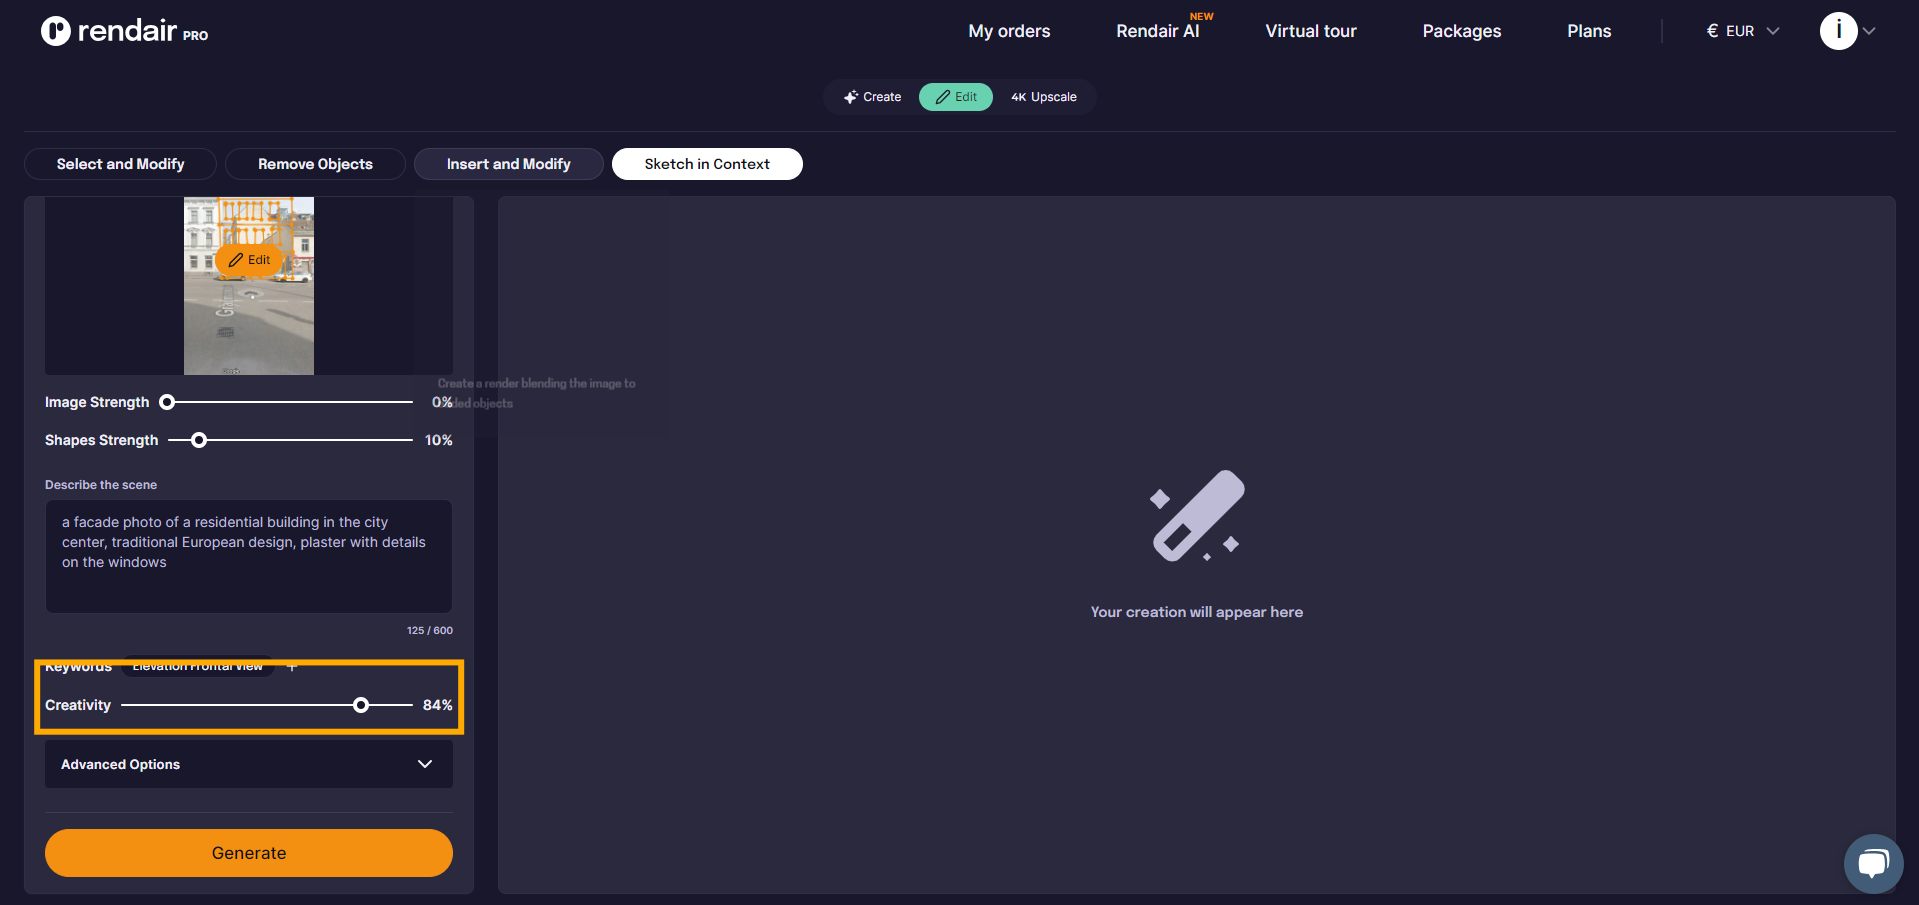
7- Change Creativity
Next, we should adjust the creativity parameter. This parameter allows the AI model to use its imagination.
If you keep the value low, it means “create an image using my prompt as closely as possible, don’t add extra things on your own.”
If you keep the Creativity value high, it means “Try to inspire by my prompt, but feel free to be creative with it.”
I will set the value around 80%.
8- Hit Generate
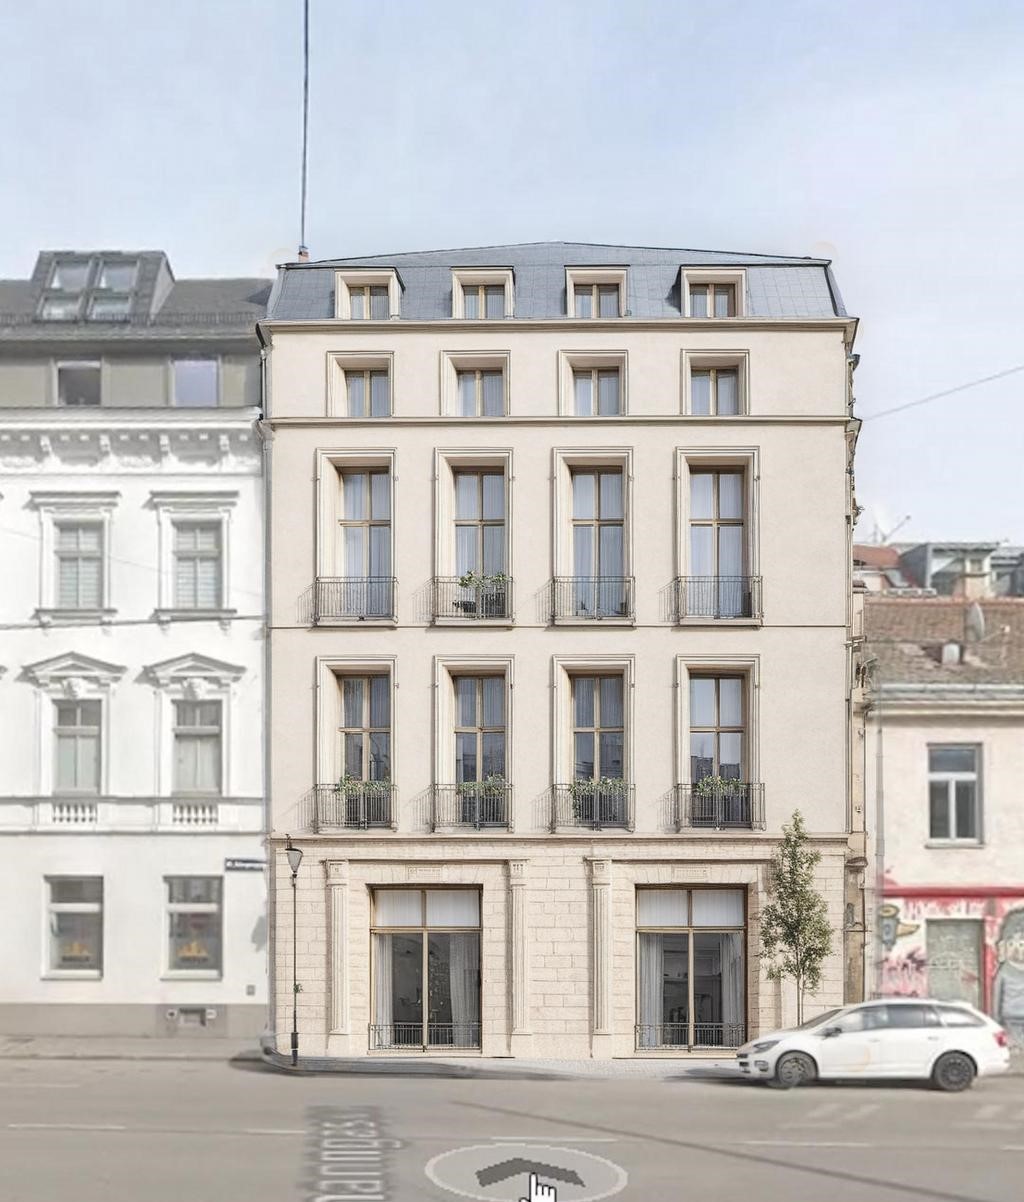
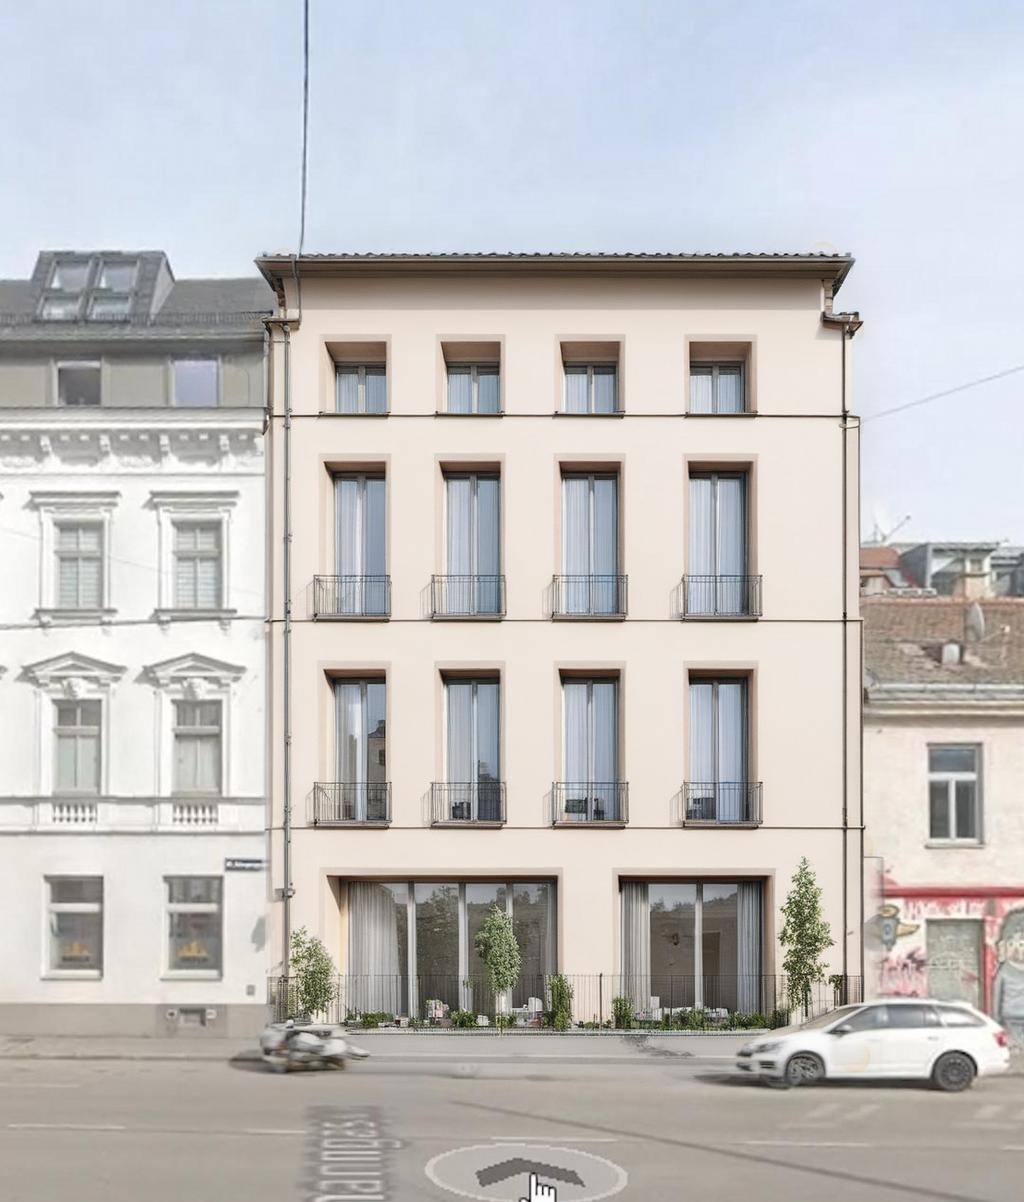
Now we are ready to create our first image. Let’s click generate:

Here is the first result;
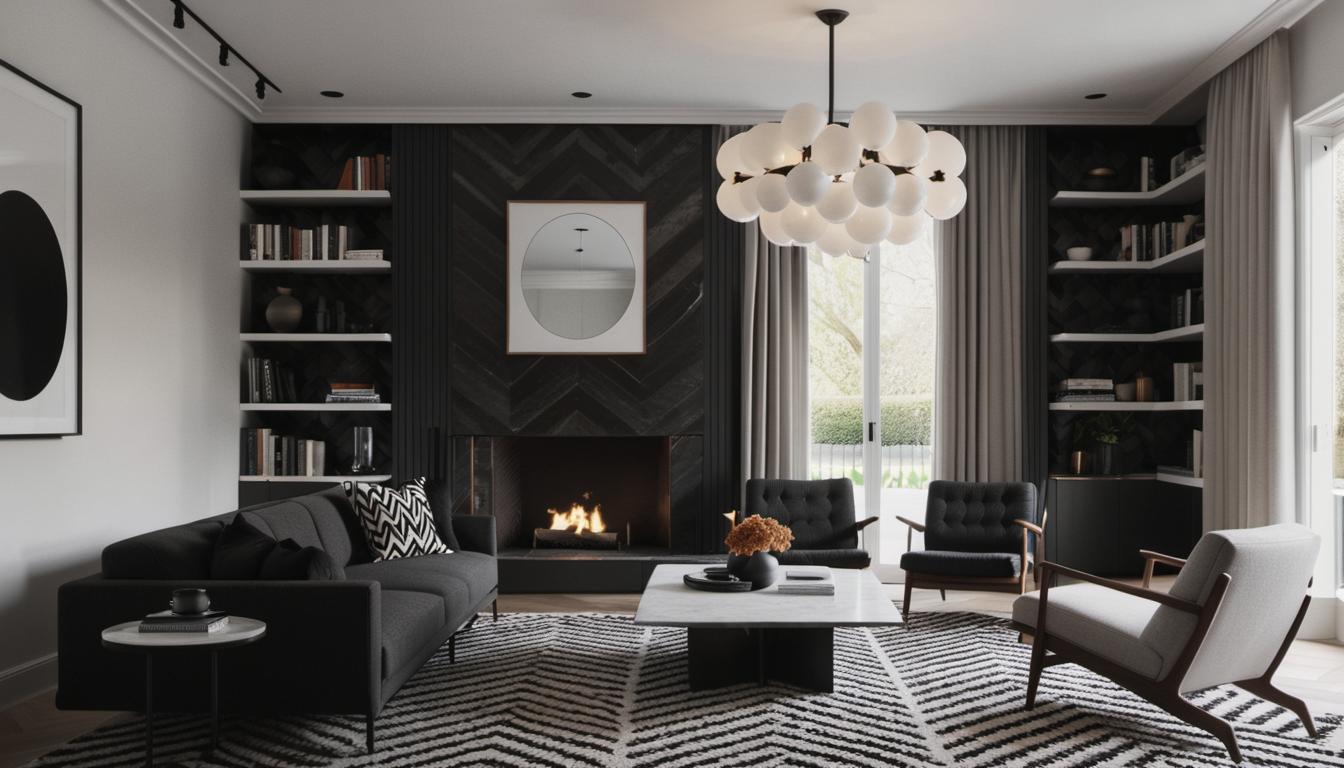
If you have a specific style of building or material in mind you can always add a reference image. For example,I will use this reference ;
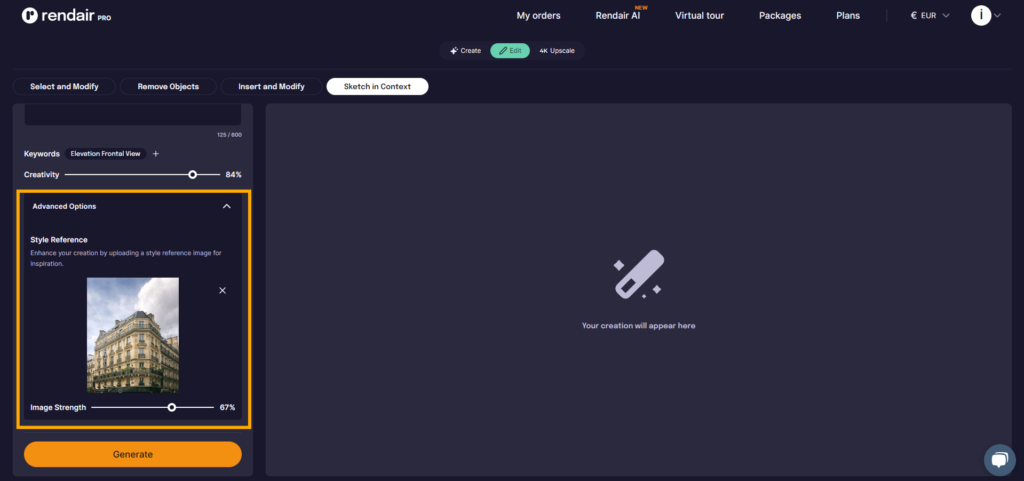
So, Click the Advanced Options and you will see a place to upload the reference image. I will just drag my image there as a reference and set the creativity parameter to around 60 because I want the AI model to incorporate the reference but not replicate the exact image.
And let’s generate: