Elevation to Render Workflow with Rendair AI
Effective visual communication is crucial for architects, and many of us are only using CAD drawings or 3D models but still represent them with 2D CAD Drawings. Now, you can elevate your 2D elevation drawings by turning them into realistic renders. Express materials and atmosphere with minimal effort.
Let’s create renders from elevation drawings to enhance your client communication by bringing your ideas to life in stunning detail.
Watch the Tutorial
1- Go to Rendair.ai
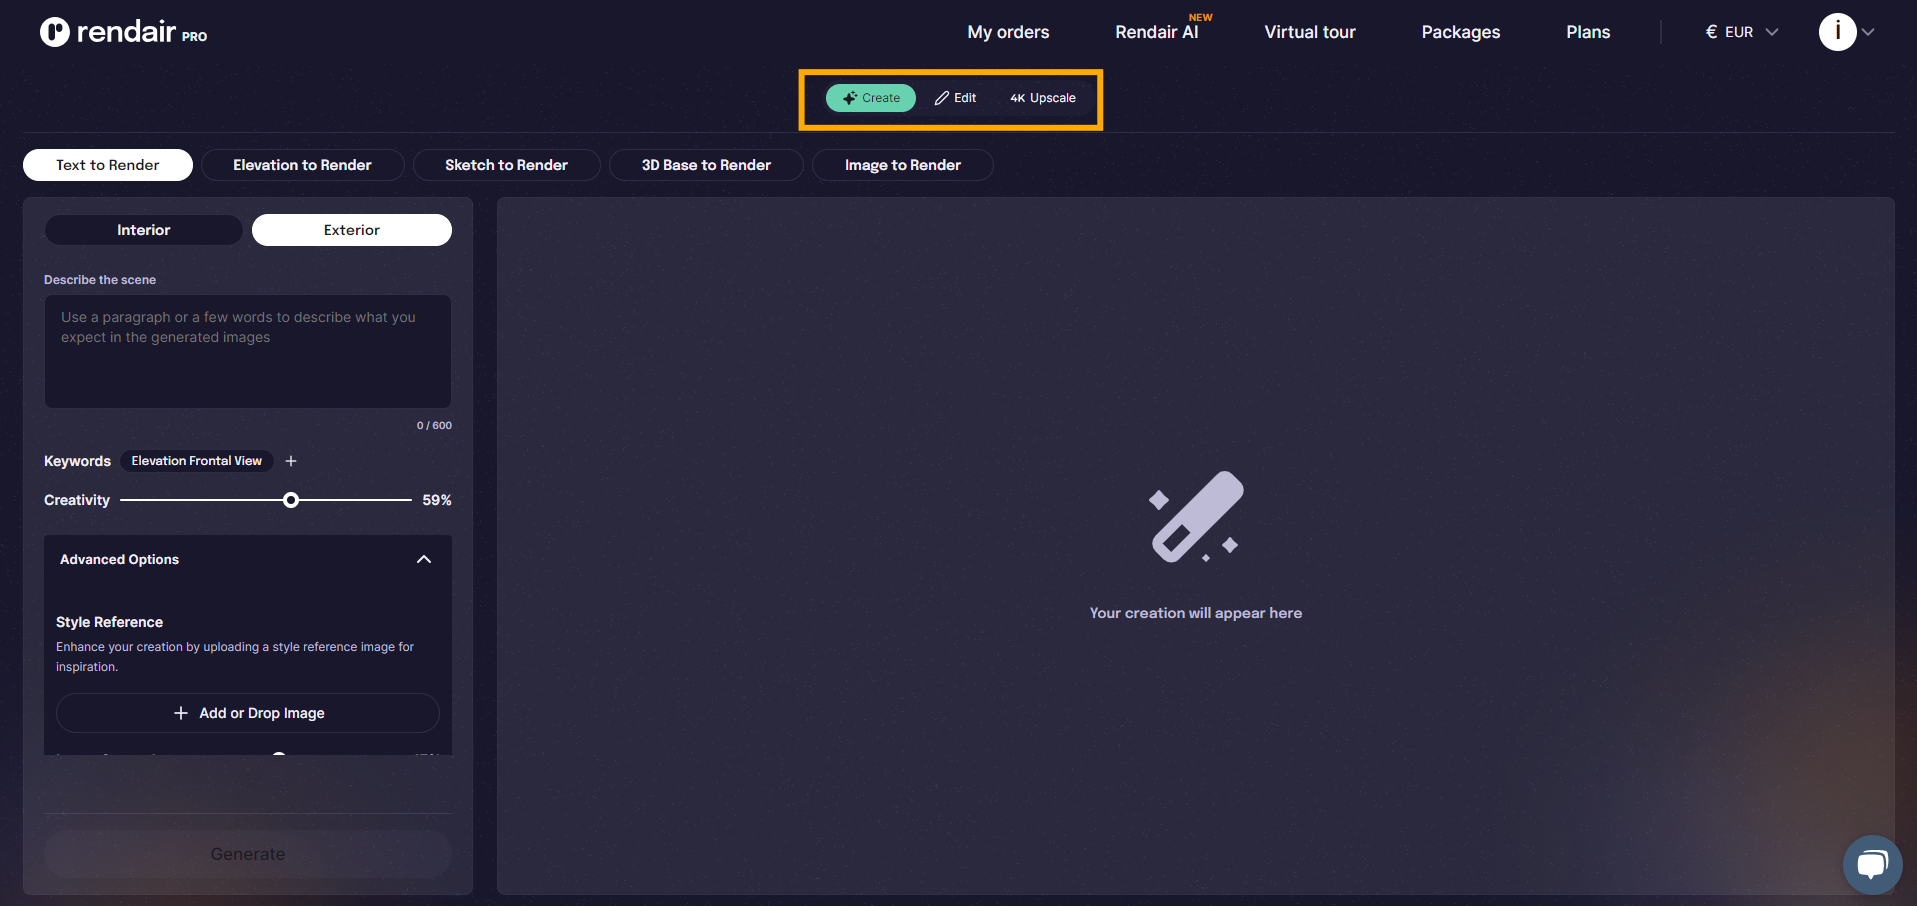
First, go to Rendair AI, where you will see three sections: Create, Edit, and 4K Upscale.
These sections are organized based on what you want to do on the website. Since we want to create something from scratch, we should go to the Create section. Here, you can create renders from text, 2D elevation drawings, sketches, 3D base images, and images.
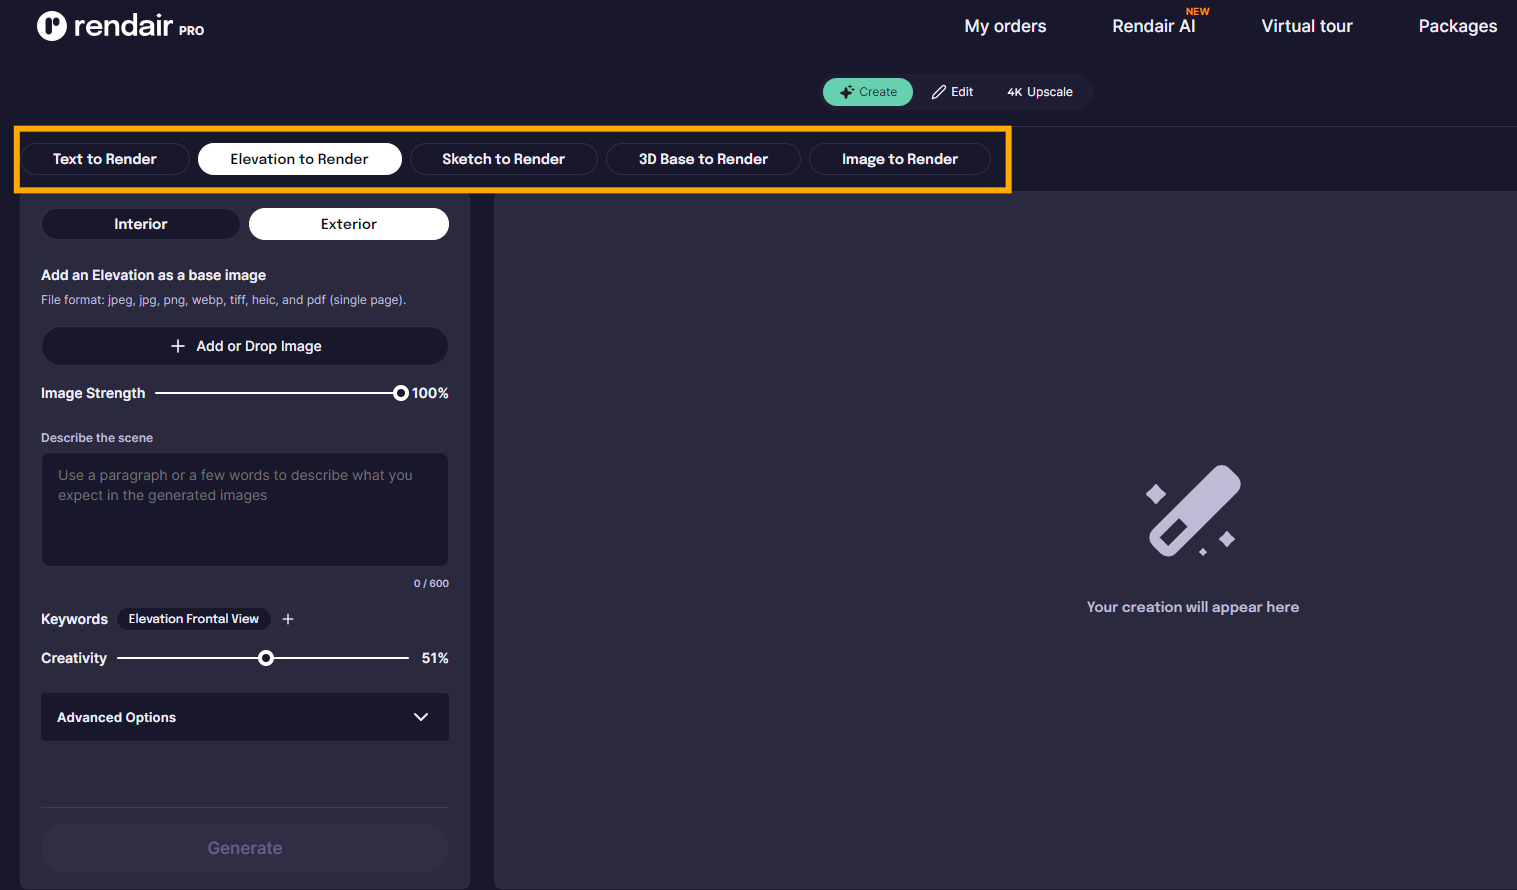
2- Choose Elevation to Render
For this example, let’s choose Elevation to Render because we want to create a render from our Elevation drawing.
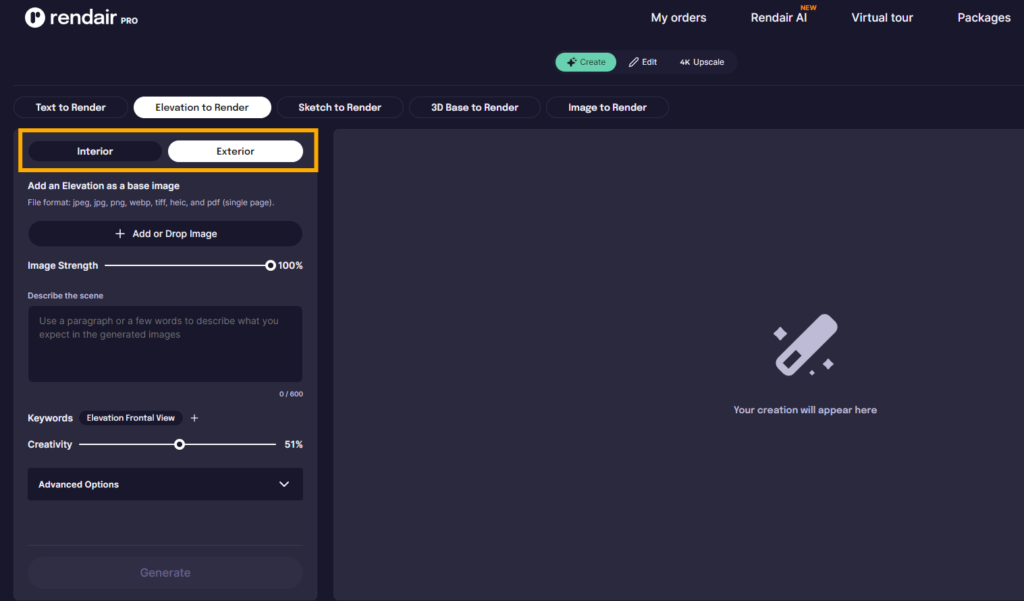
First, choose if you want to create an interior or exterior image.
3- Upload the Base Image
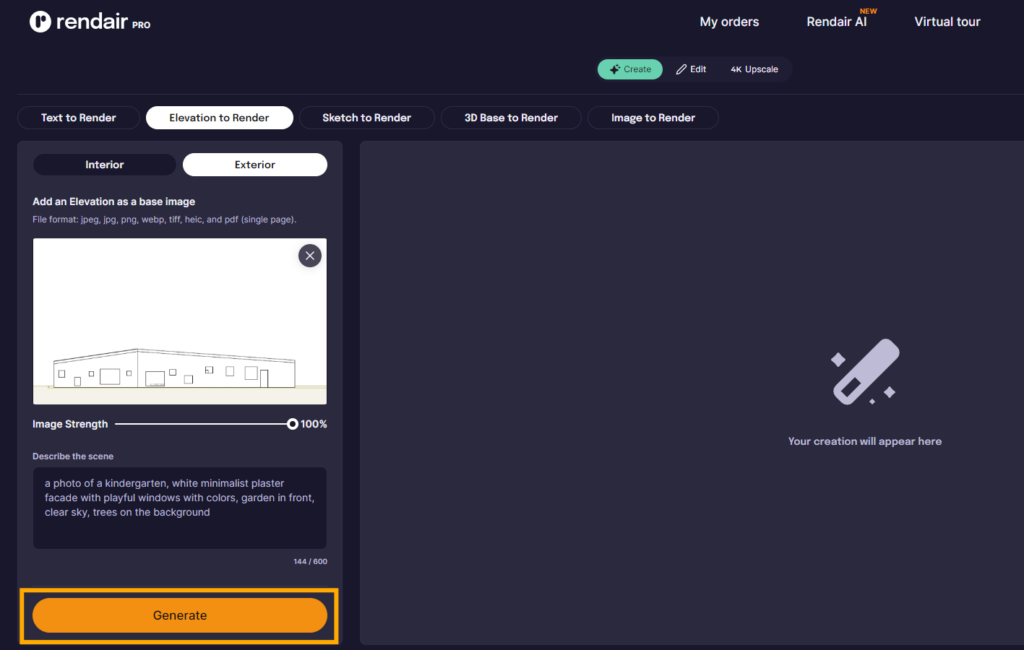
Next, upload the drawing. Simply drag the image onto the website or click “+Add Image” to upload it.
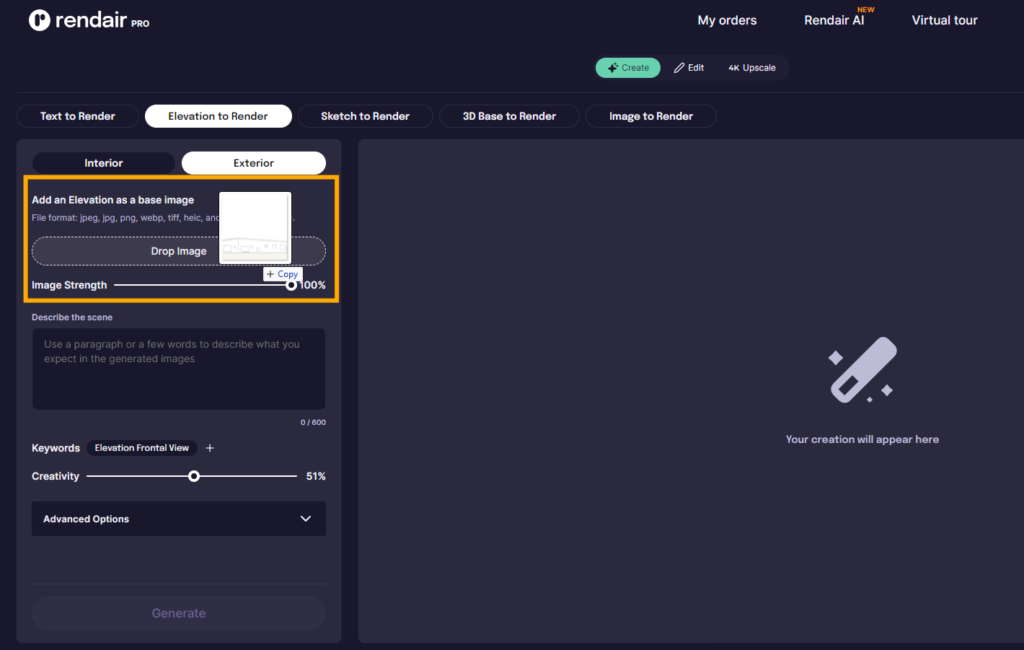
4- Adjust Image Strength
Modify the image strength to determine how closely the AI Model should stick to the original image. A setting of 100 means the AI Model will make no changes to the image, while a setting of 0 means the AI will ignore the image entirely.
For this example, I want the AI Model to stay as true to the original image as possible, so I will set the image strength to 100.
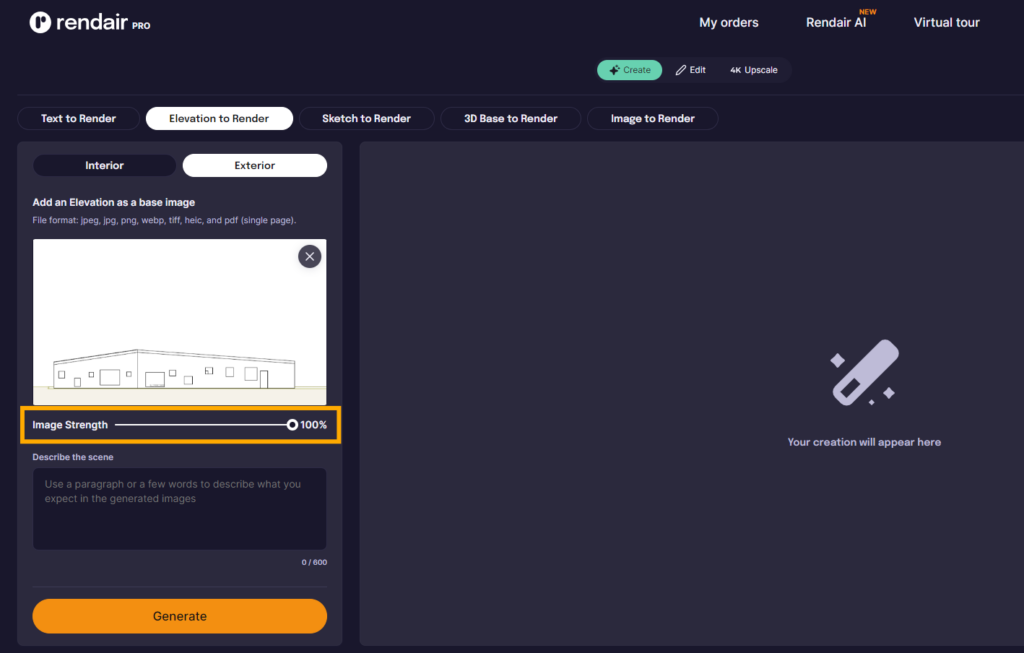
5- Add a Prompt
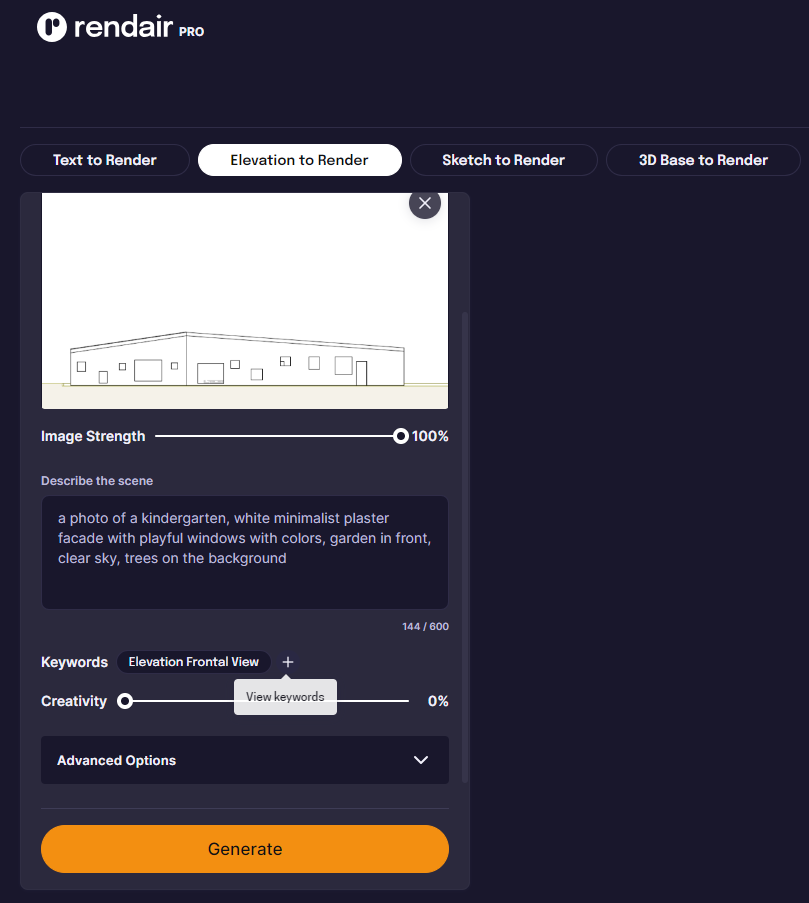
Then, start writing the prompt. The prompt can be in any format but remember that you are not communicating with a human but an AI model.
Just imagine a scene and describe the materials, atmosphere, climate, colors… In this case, I will describe the image I uploaded. So, I will prompt:
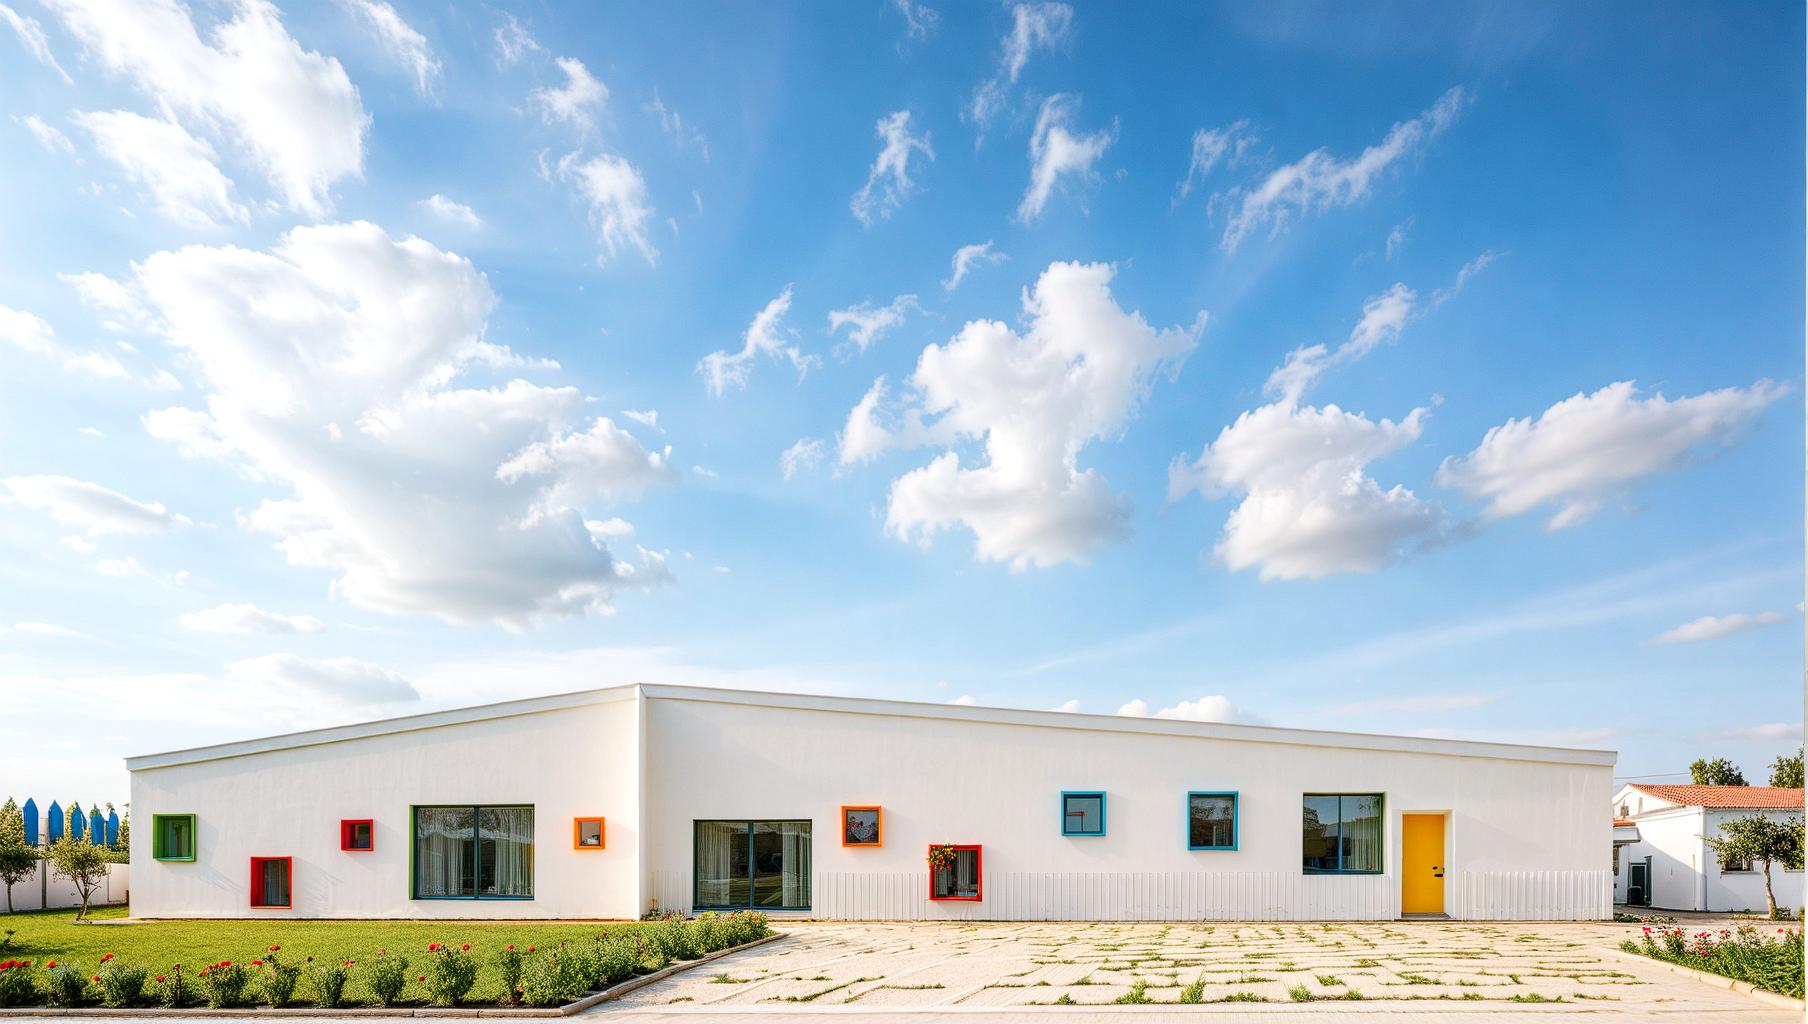
a photo of a kindergarten, white minimalist plaster facade with playful windows with colors, garden in front, clear sky, trees on the background

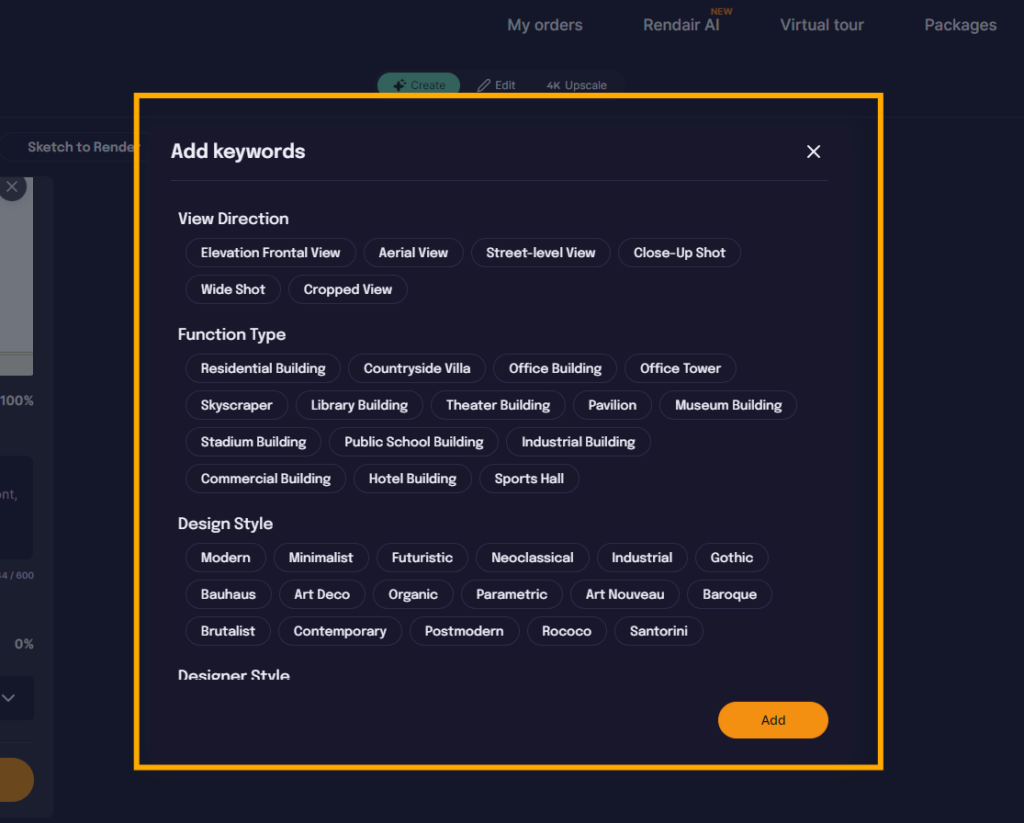
(If you are new to prompting and don’t really know what to write, don’t worry. Rendair AI has got you covered. Just click the + button next to keywords, and you will see many suggestions.)
6- Change Parameters
Next, we should adjust the creativity parameter. This parameter allows the AI model to use its imagination.
If you keep the value low, it means “create an image using my prompt as closely as possible, don’t add extra things on your own.”
If you keep the Creativity value high, it means “Try to inspire by my prompt, but feel free to be creative with it.”
I will set the value around 85%.

7- Hit Generate
Now we are ready to create our first image. Let’s click generate:
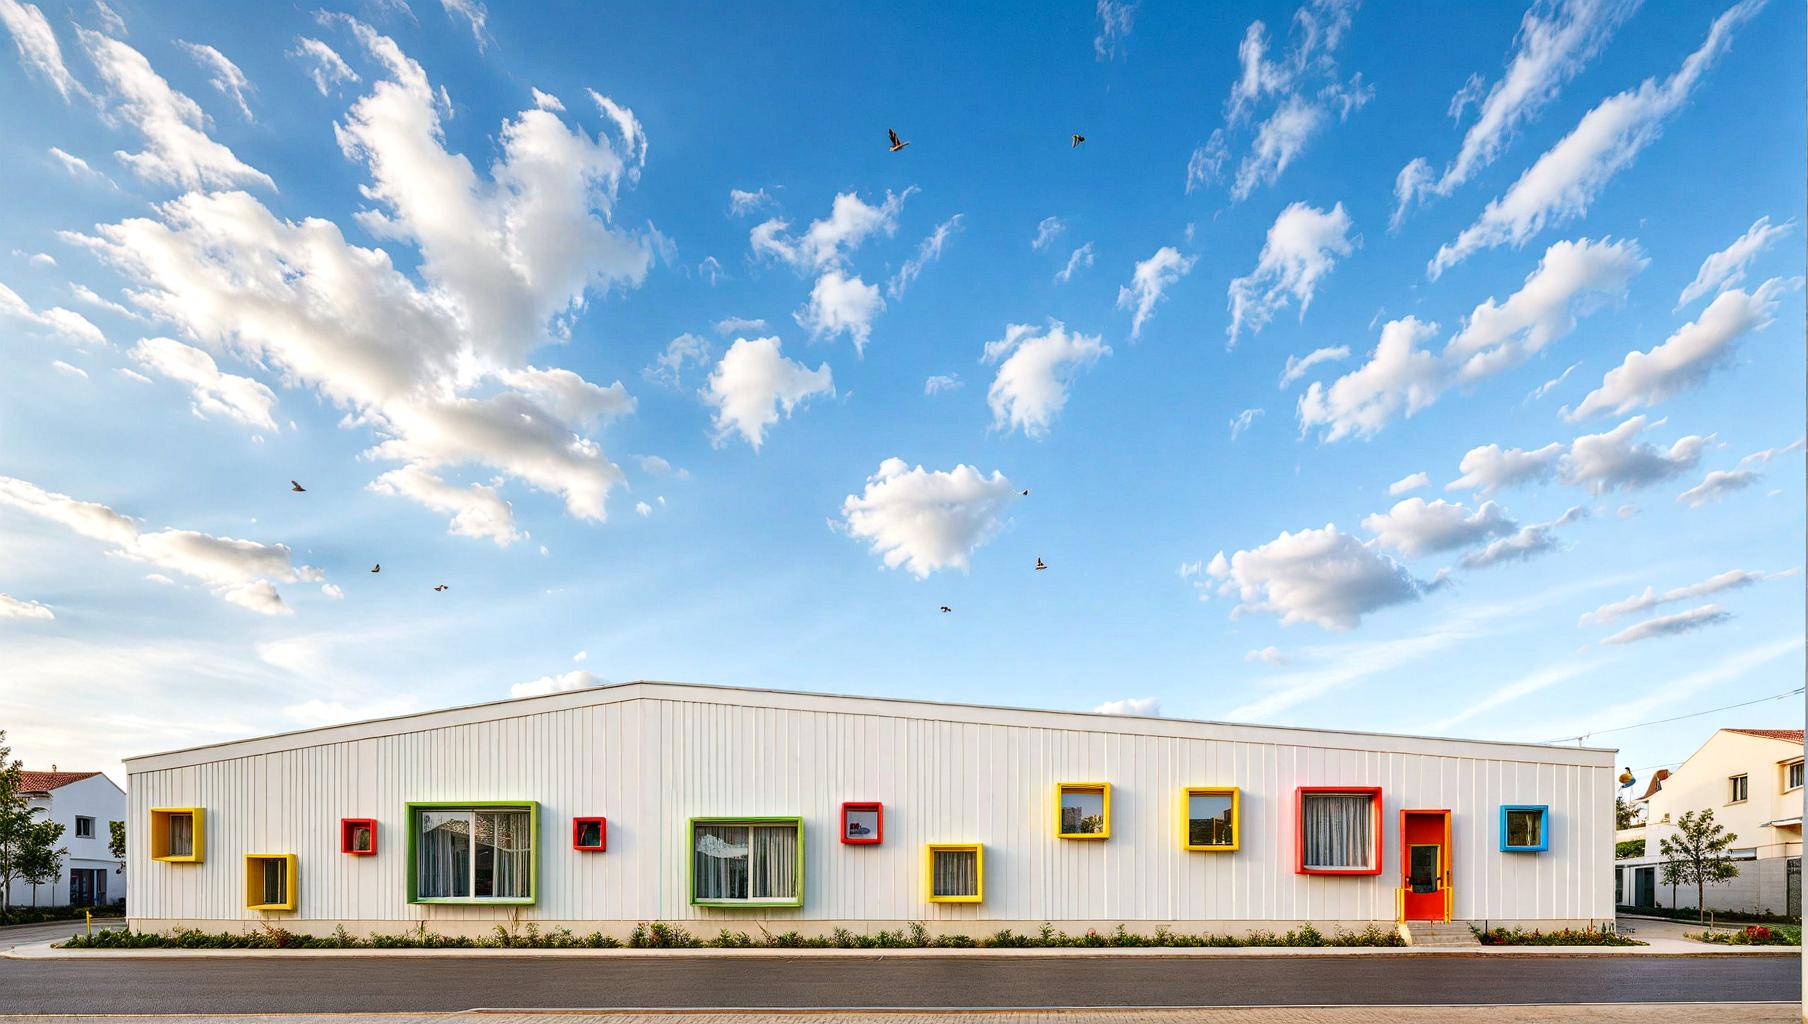
Here is the first result;
If you have something more specific in mind, you can always add a reference image. For example, I wanted to use this image.
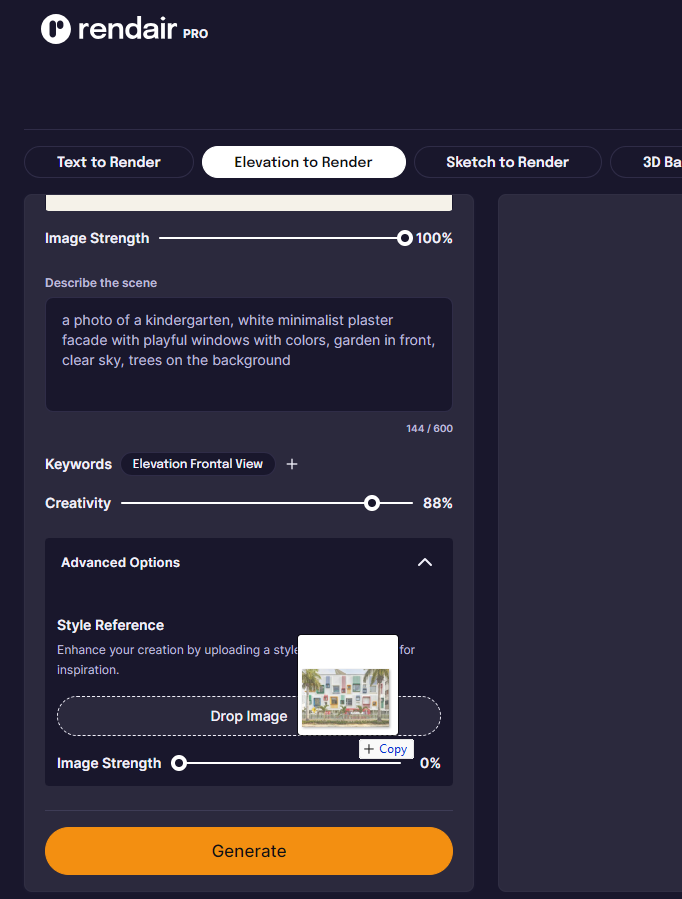
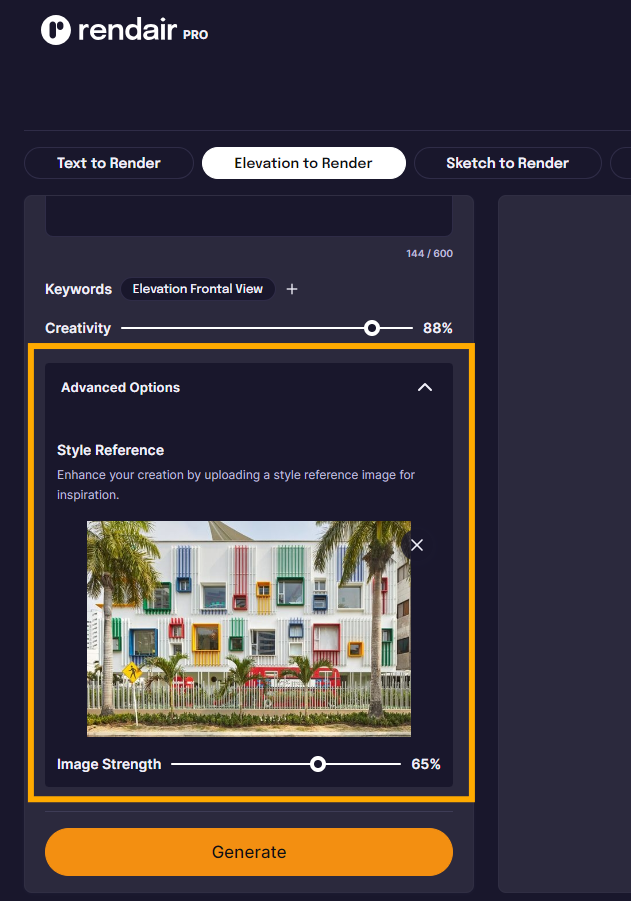
So, Click the Advanced Options and you will see a place to upload the reference image. I will just drag my image there as a reference and set the creativity parameter to around 60 because I want the AI model to incorporate the reference but not replicate the exact image.
And let’s generate:
