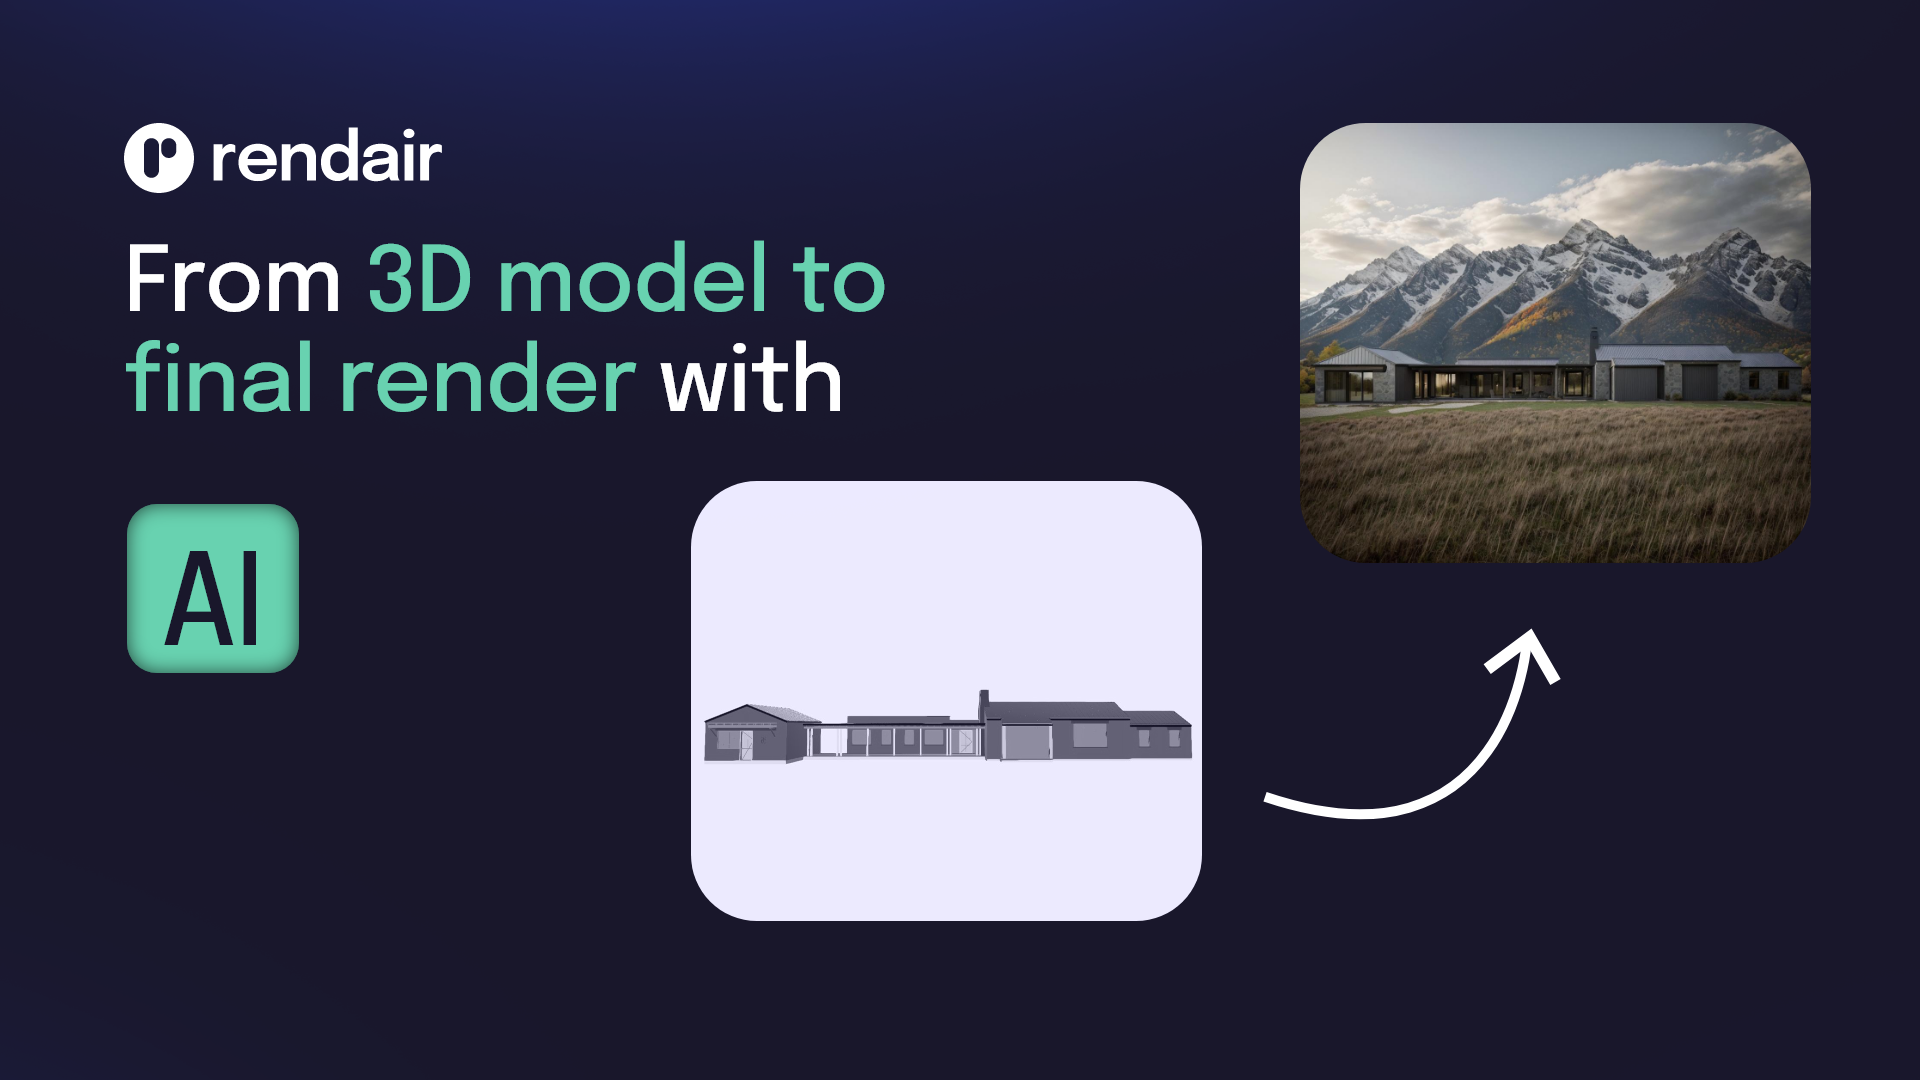
3D Base to Render Workflow with Rendair AI
One of the hardest aspects of visualizing projects is having to model them again in a rendering program. This involves adding textures one by one and placing countless trees, bushes, and flowers to make the scene detailed enough to look realistic. It’s a time-consuming process that requires high-performance computing.
Now, with Rendair AI, you can use the 3D model you’ve created in Revit, SketchUp, ArchiCAD, or any other modeling software and turn the view into a realistic render in seconds. Let’s create one together.
Watch the Tutorial
1- Go to Rendair.ai
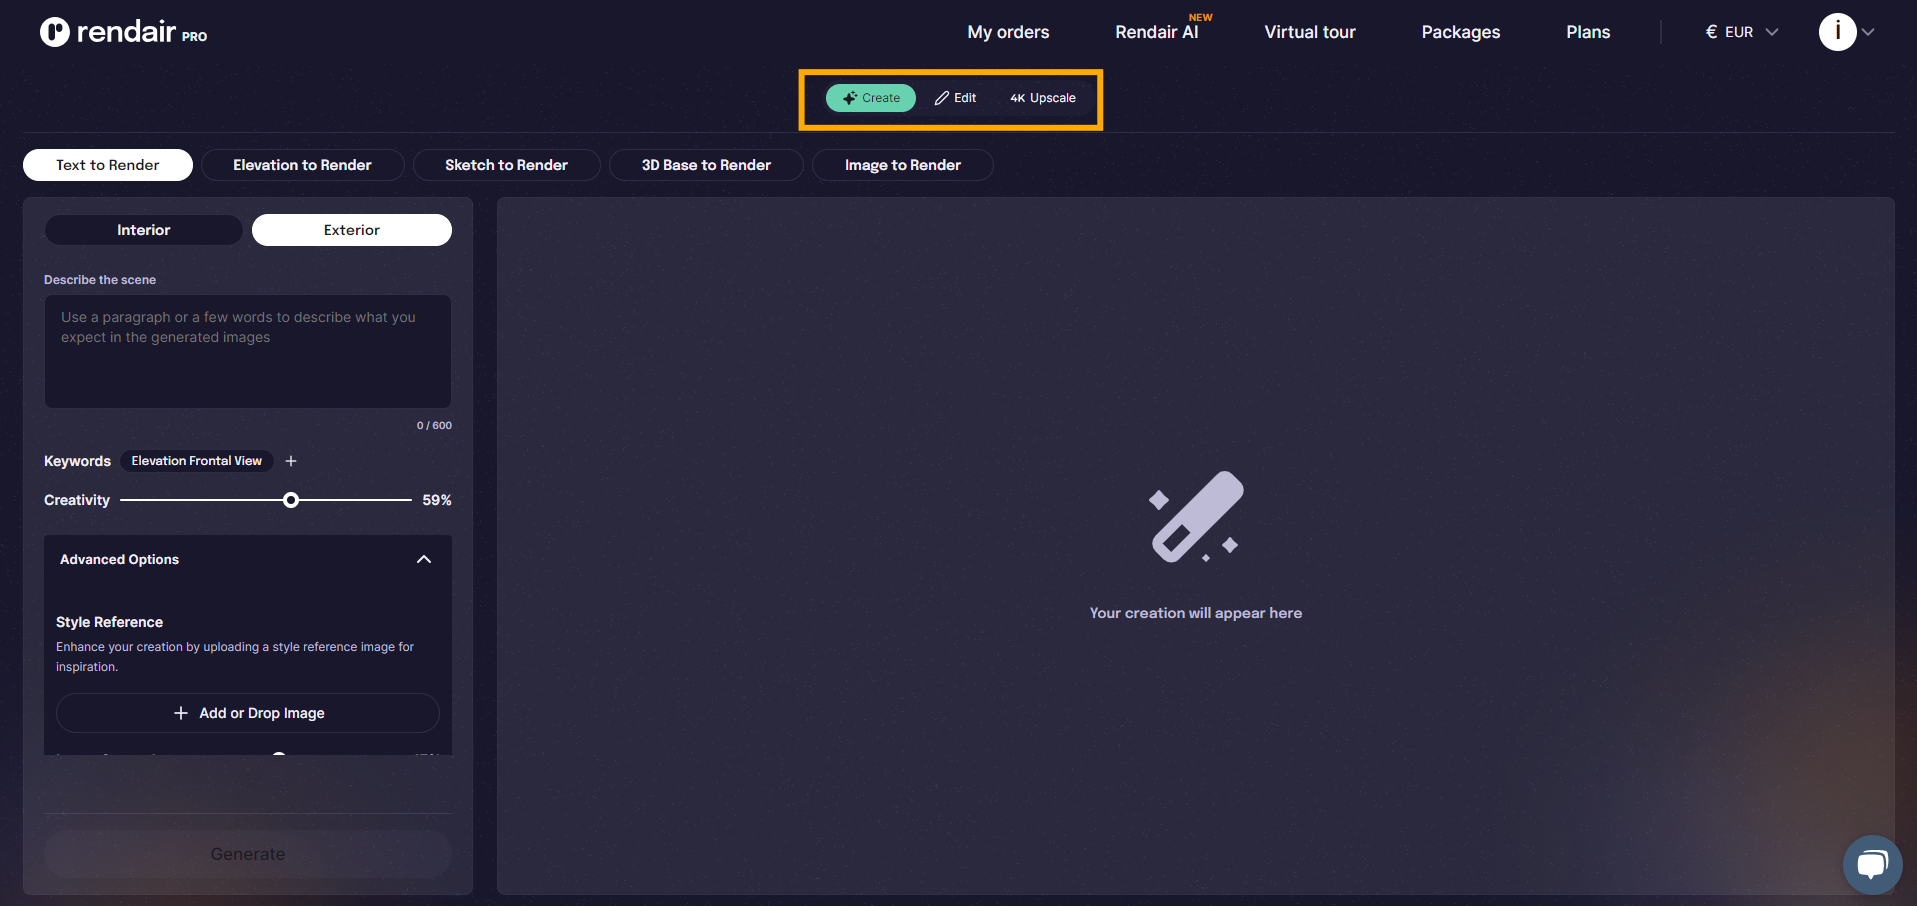
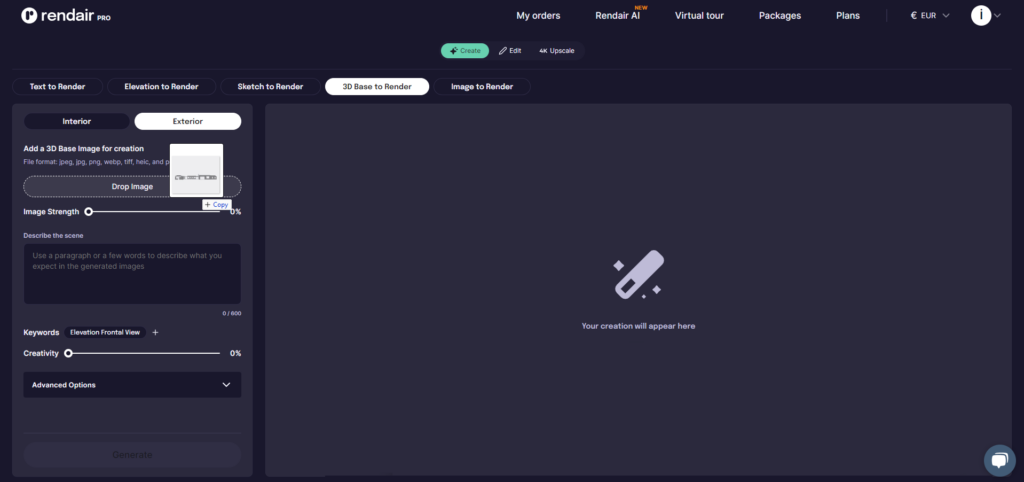
First, go to Rendair AI, where you will see three sections: Create, Edit, and 4K Upscale.
These sections are organized based on what you want to do on the website. Since we want to create something from scratch, we should go to the Create section. Here, you can create renders from text, 2D elevation drawings, sketches, 3D base images, and images.
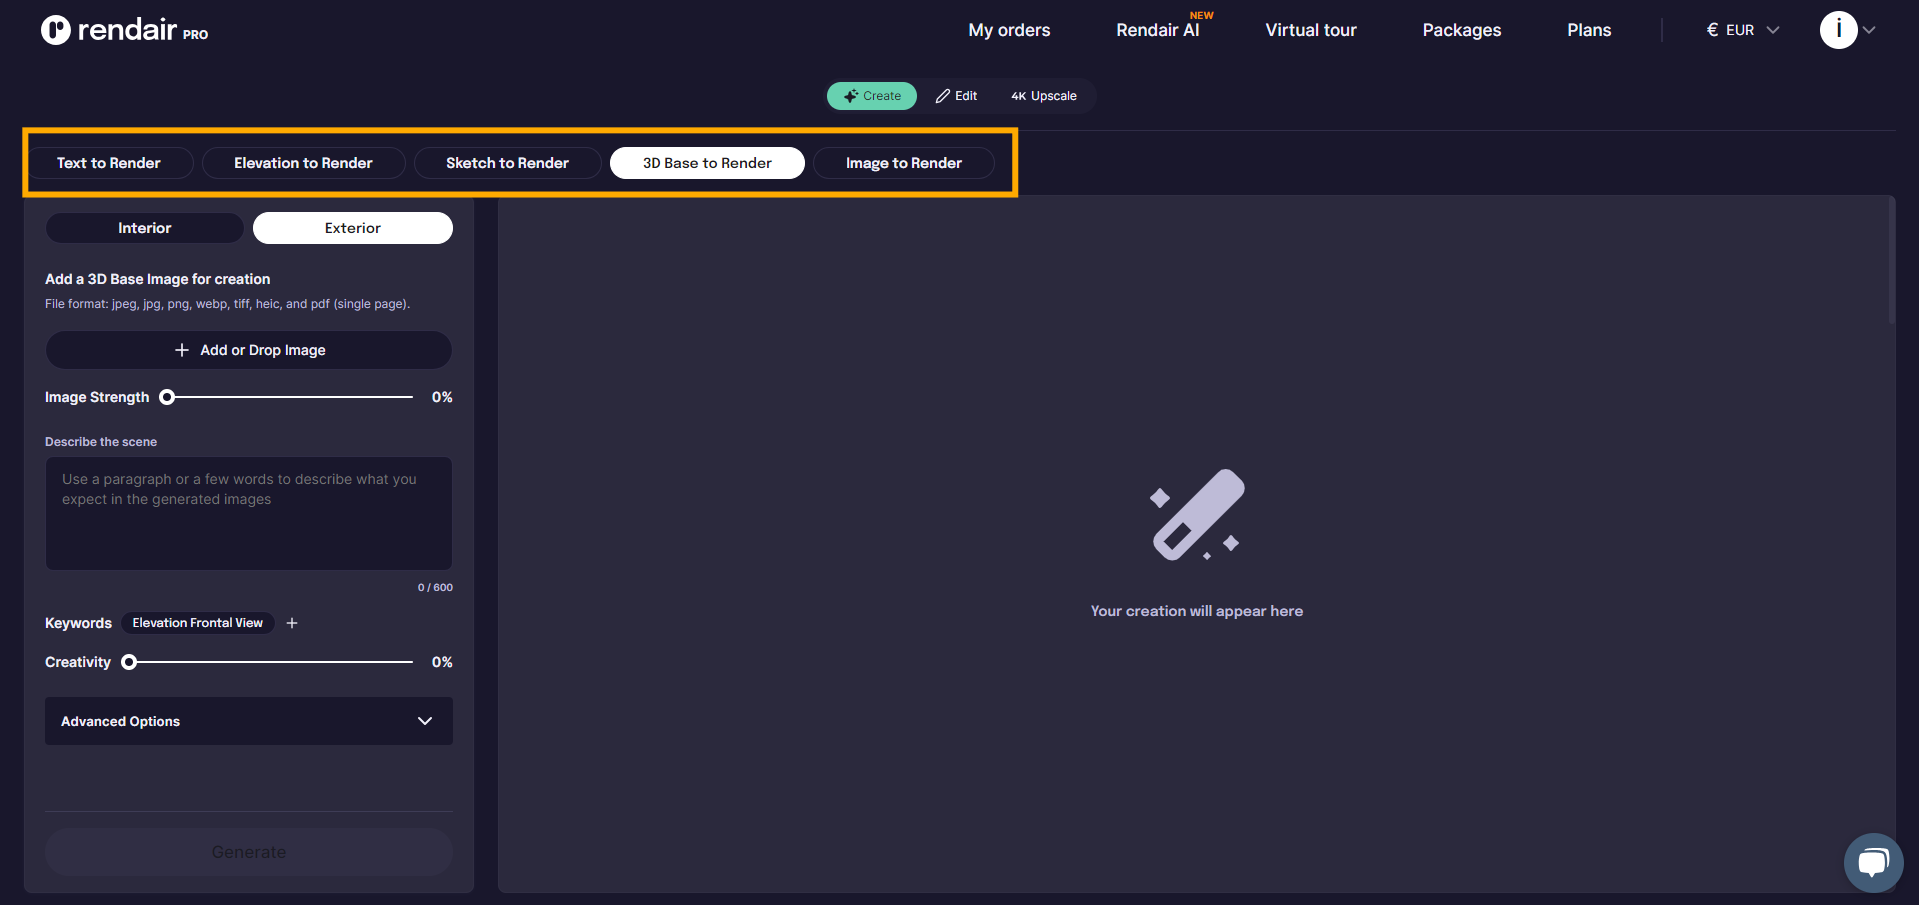
2- Choose 3D Base to Render
For this example, let’s choose 3D Base to Render because we want to create a render from 3D base images.
(If your model is highly detailed and includes materials, I recommend using Image to Render for the best results.)
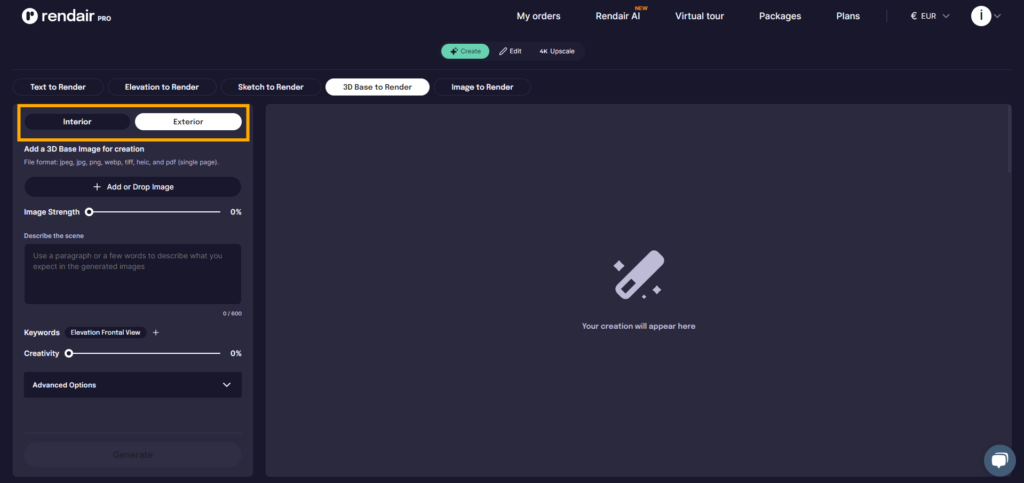
First, choose if you want to create an interior or exterior image.
3- Upload the Base Image
Next, upload the view you want to render. This can even be a screenshot of your 3D model. Simply drag the image onto the website or click “+Add Image” to upload it.
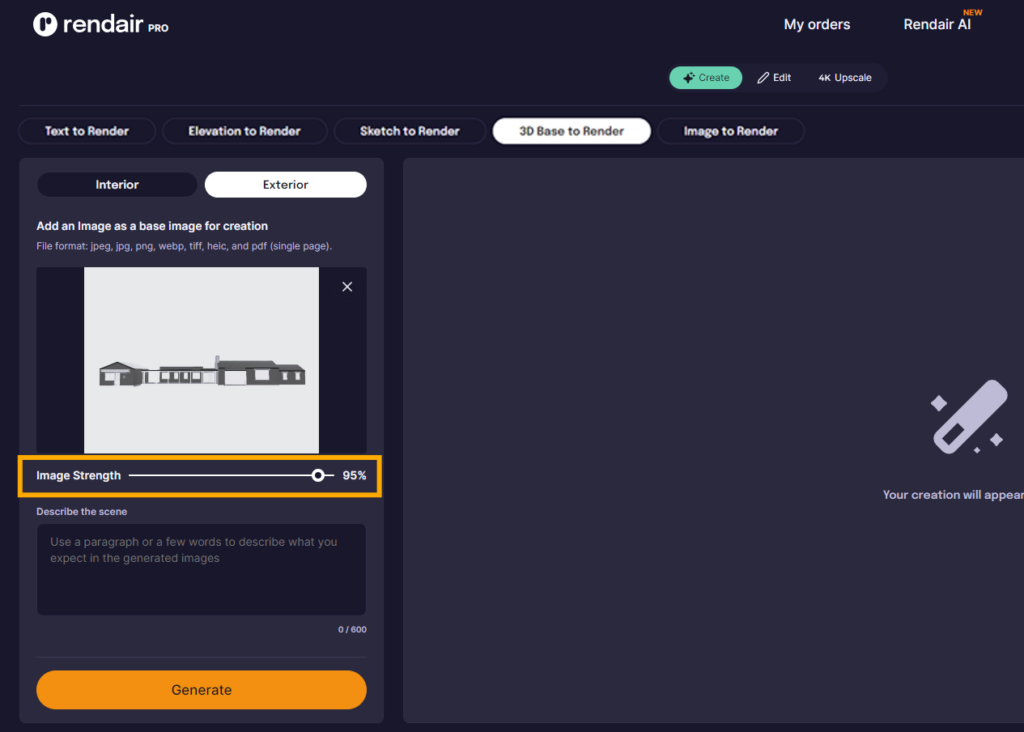
4- Adjust Image Strength
Modify the image strength to determine how closely the AI Model should stick to the original image. A setting of 100 means the AI Model will make no changes to the image, while a setting of 0 means the AI will ignore the image entirely.
For this example, I want the AI Model to stay as true to the original image as possible while still allowing for some creativity, so I will set the image strength to 95.
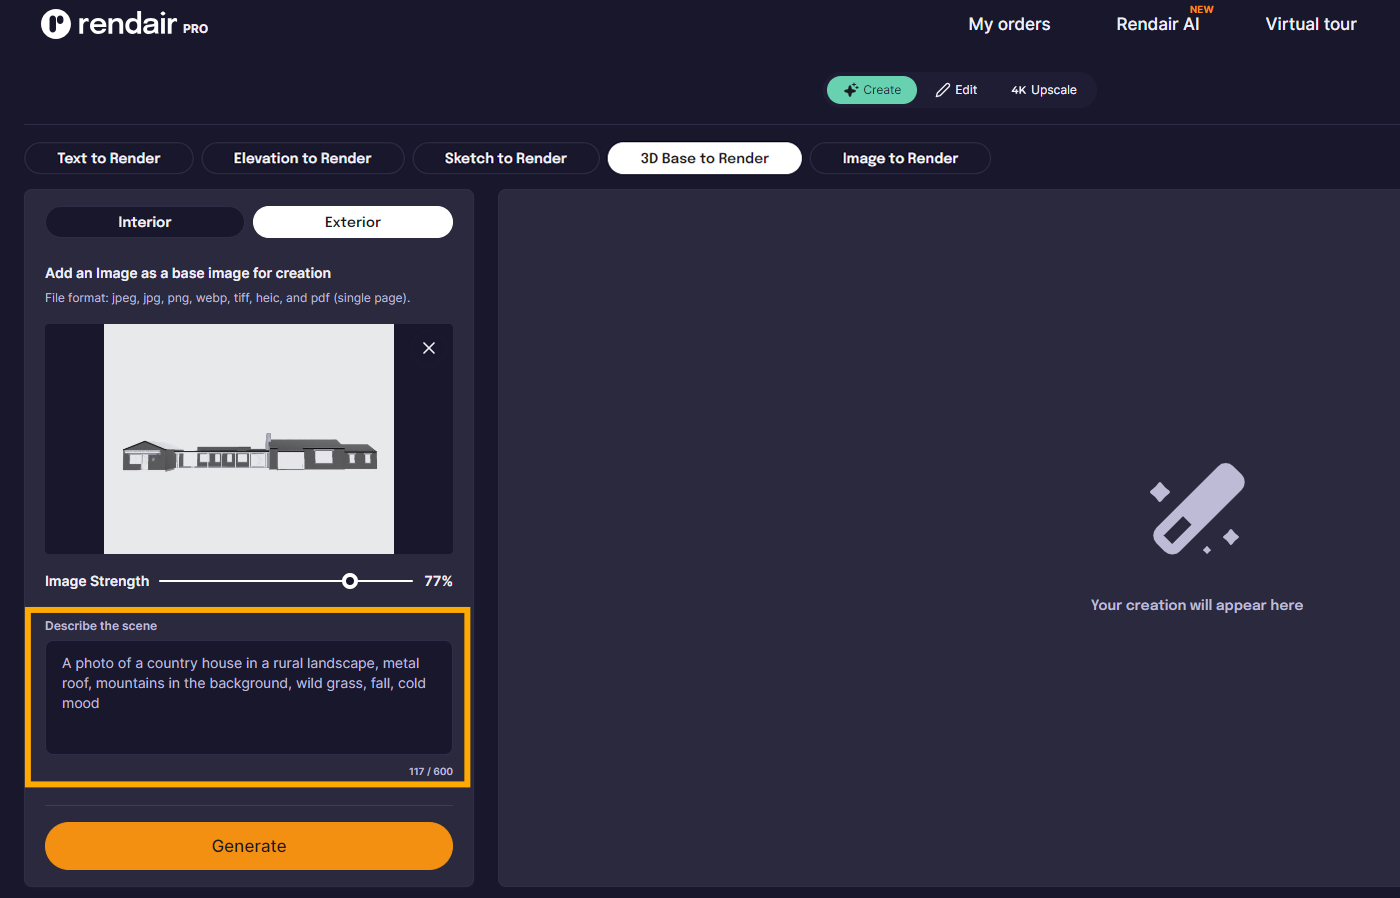
5- Add a Prompt
Then, start writing the prompt. The prompt can be in any format but remember that you are not communicating with a human but an AI model.
For example, if you prompt “Design me a 3-bedroom house,” it won’t design what you want. You need to be as specific as possible. Just imagine a scene. In this case, I will describe the image I uploaded. So, I will prompt:
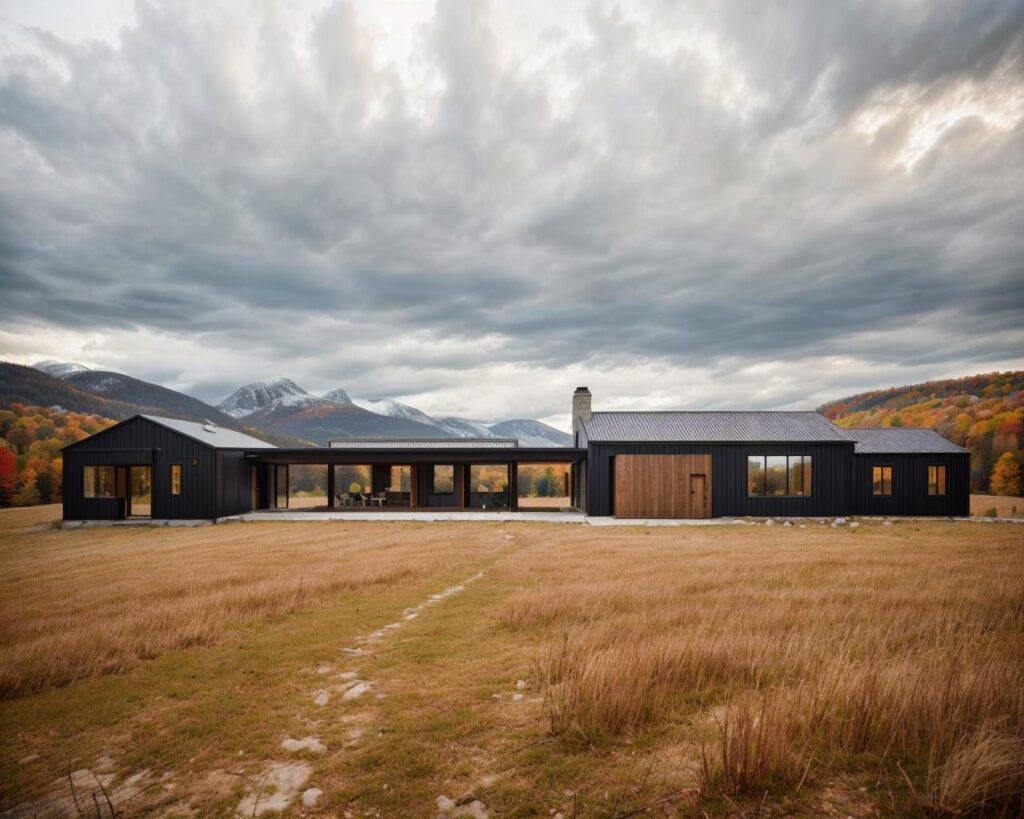
A photo of a country house in a rural landscape, metal roof, mountains in the background, wild grass, fall, cold mood
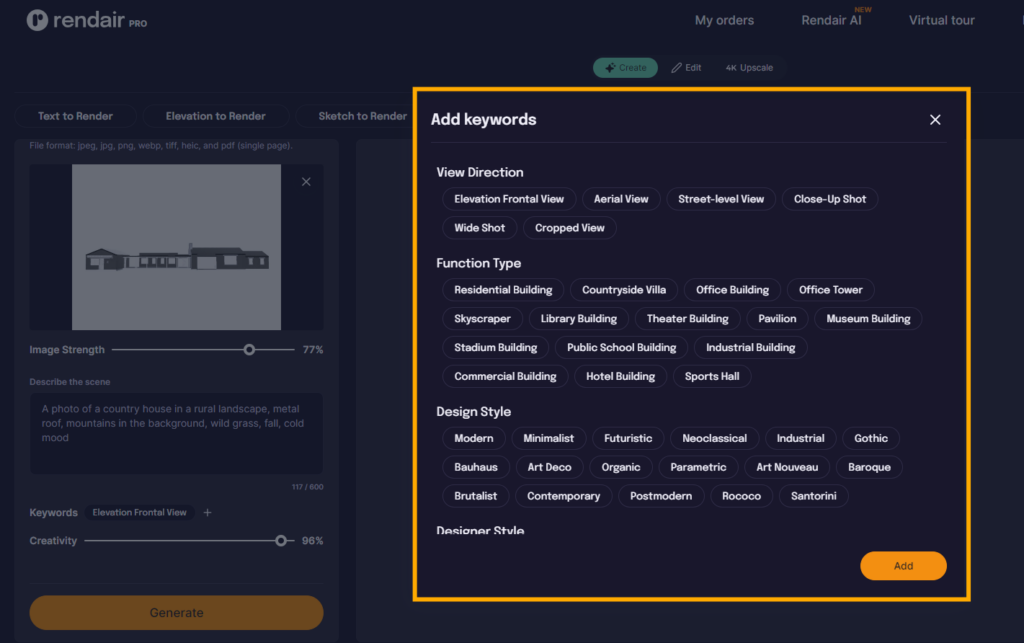
(If you are new to prompting and don’t really know what to write, don’t worry. Rendair AI has got you covered. Just click the + button next to keywords, and you will see many suggestions.)
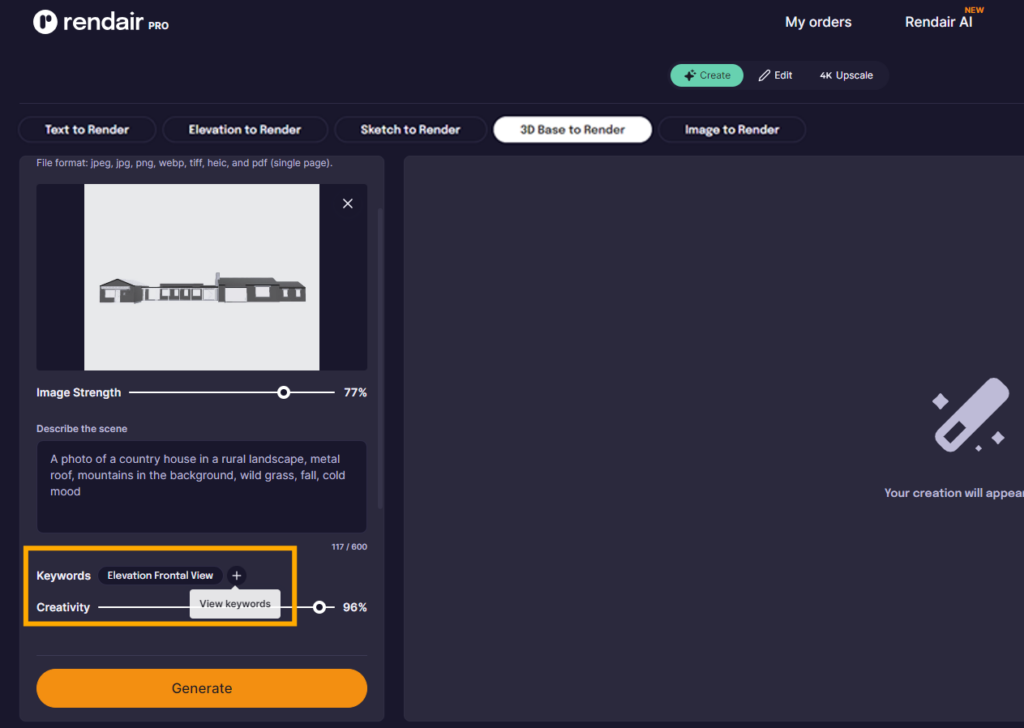
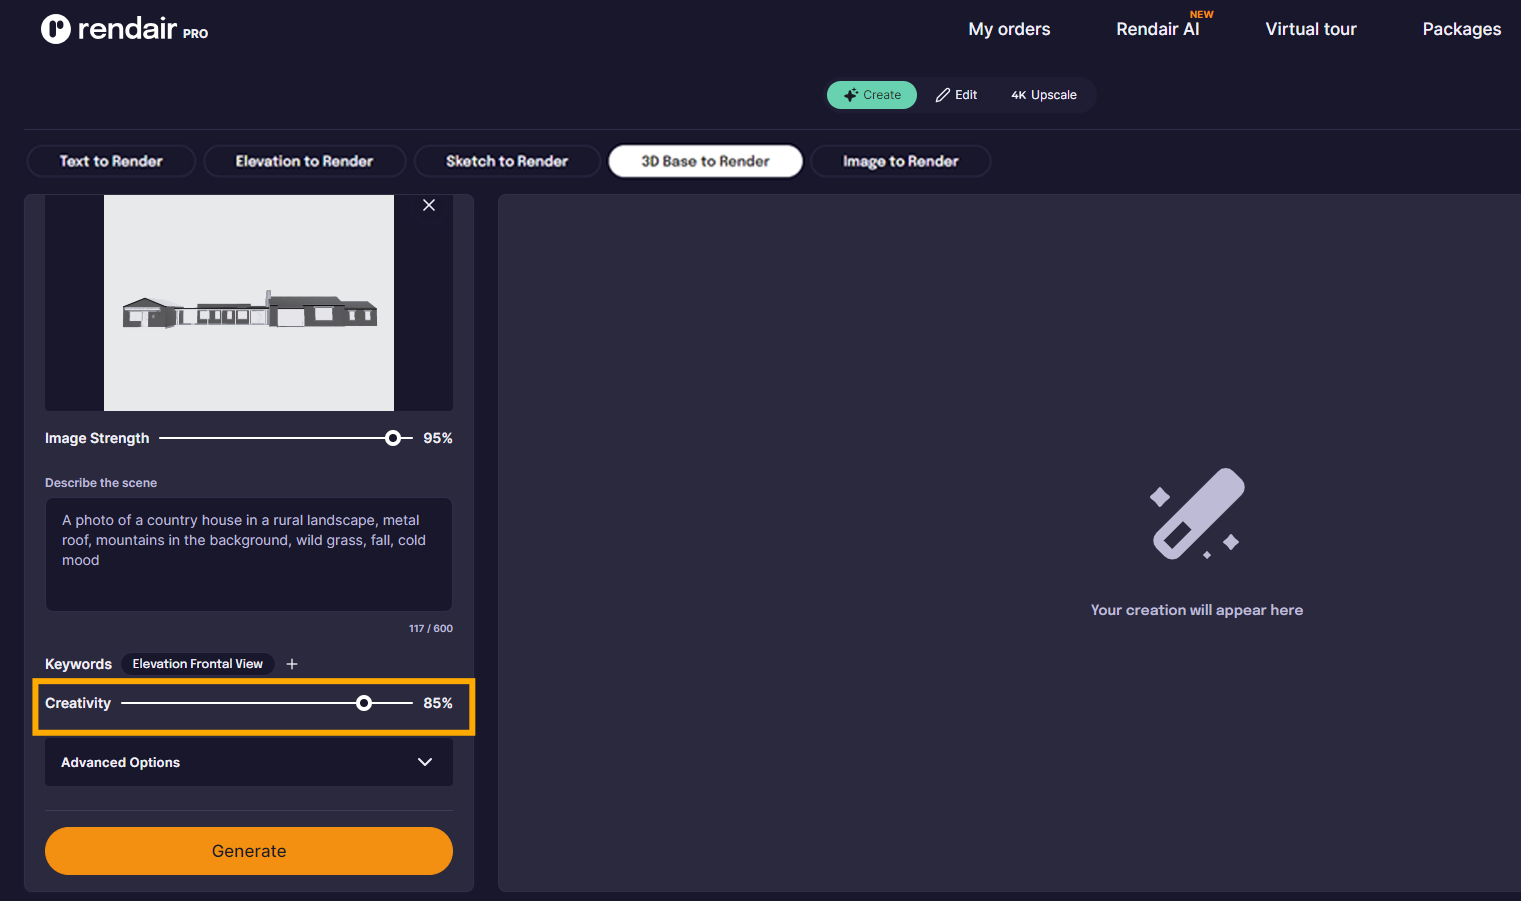
6- Change Parameters
Next, we should adjust the creativity parameter. This parameter allows the AI model to use its imagination.
If you keep the value low, it means “create an image using my prompt as closely as possible, don’t add extra things on your own.”
If you keep the Creativity value high, it means “Try to inspire by my prompt, but feel free to be creative with it.”
I will set the value around 85%.
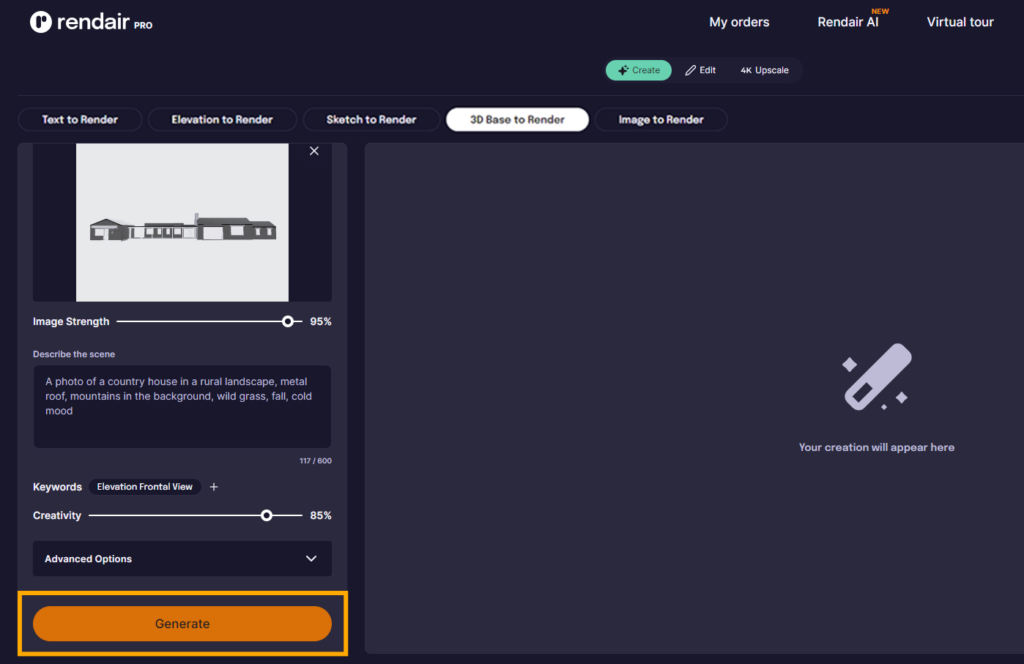
7- Hit Generate
Now we are ready to create our first image. Let’s click generate:
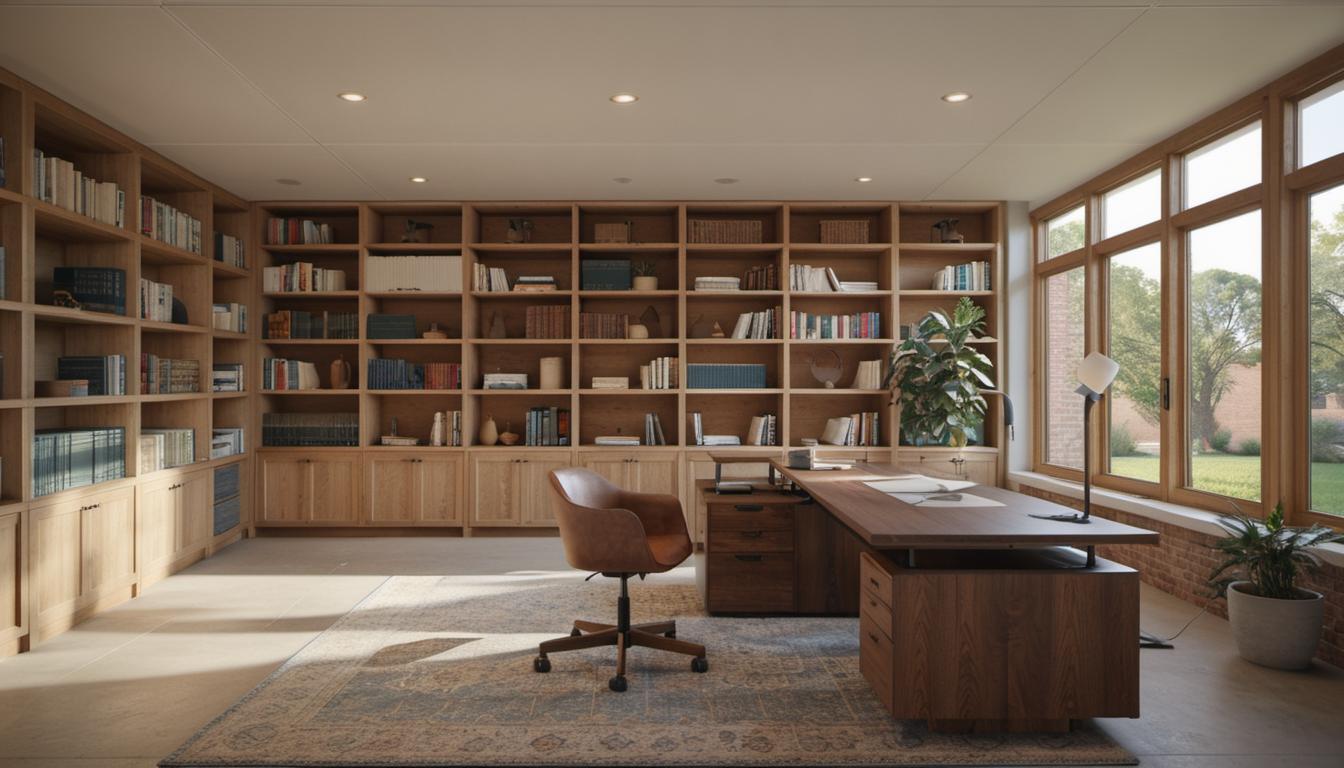
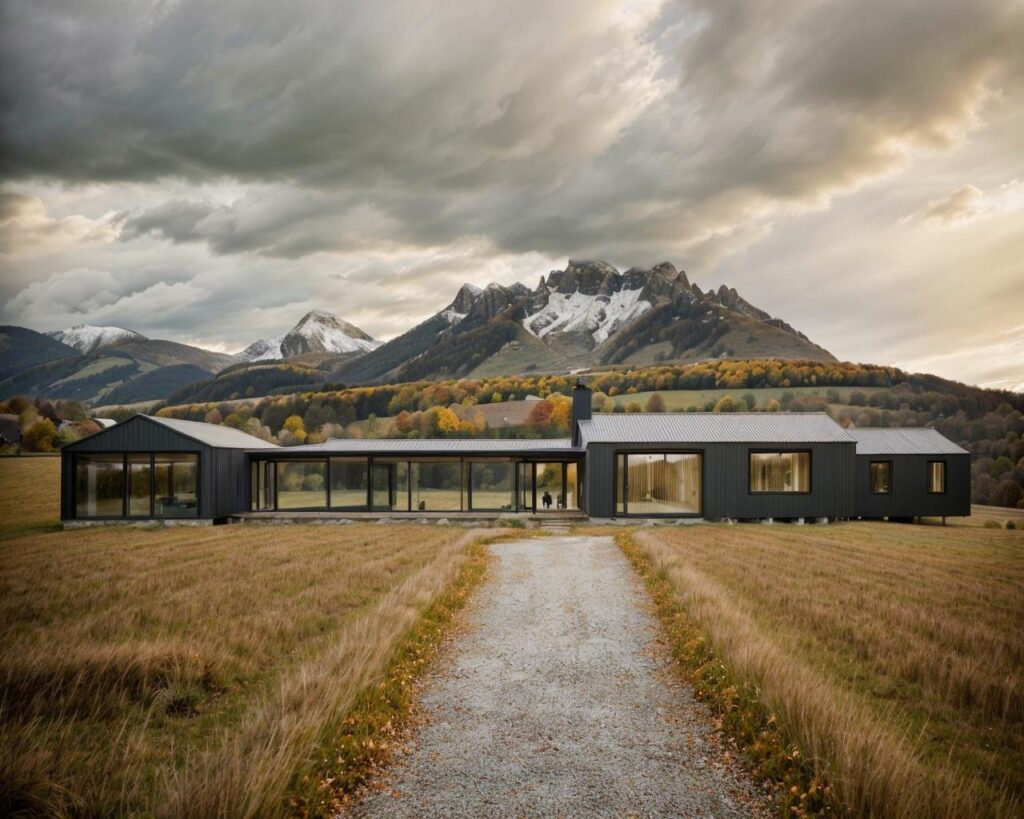
Here is the first result;
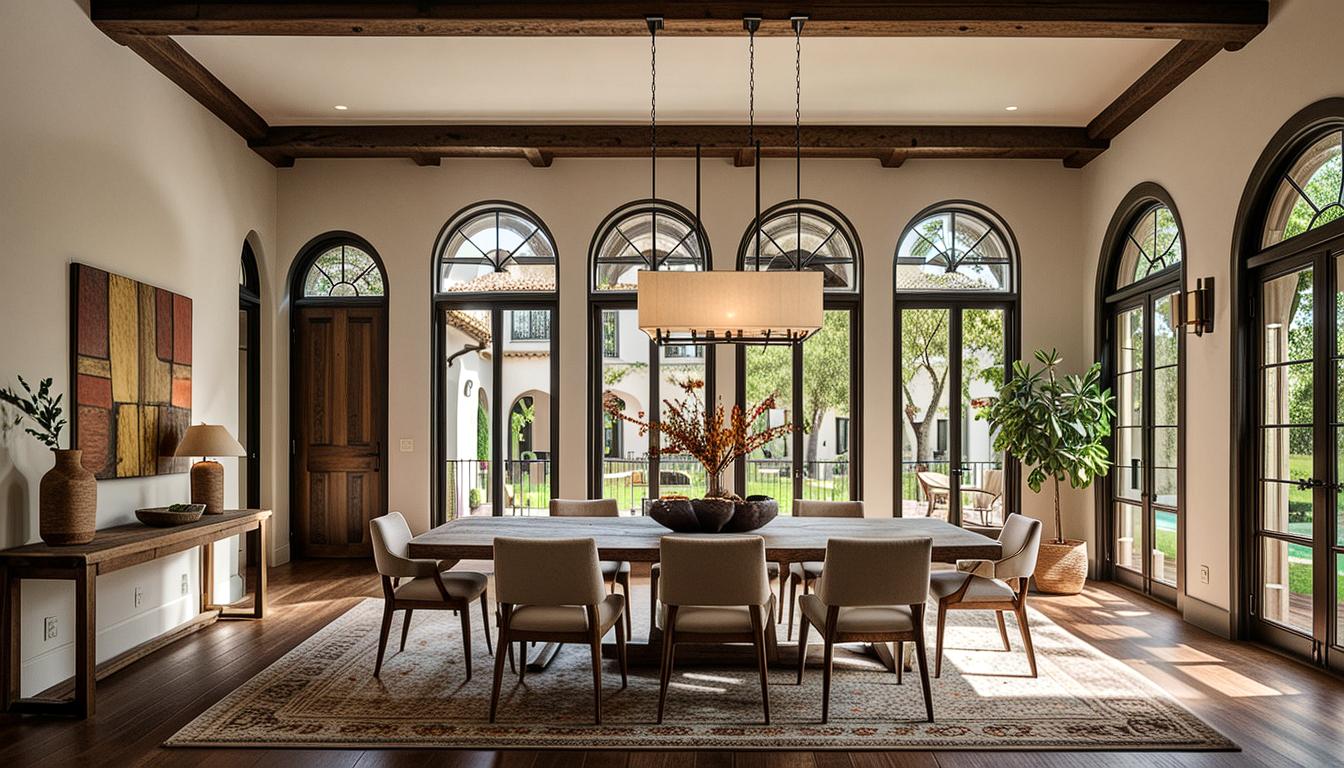
If you have something more specific in mind, you can always add a reference image. For example, I wanted to use this image.
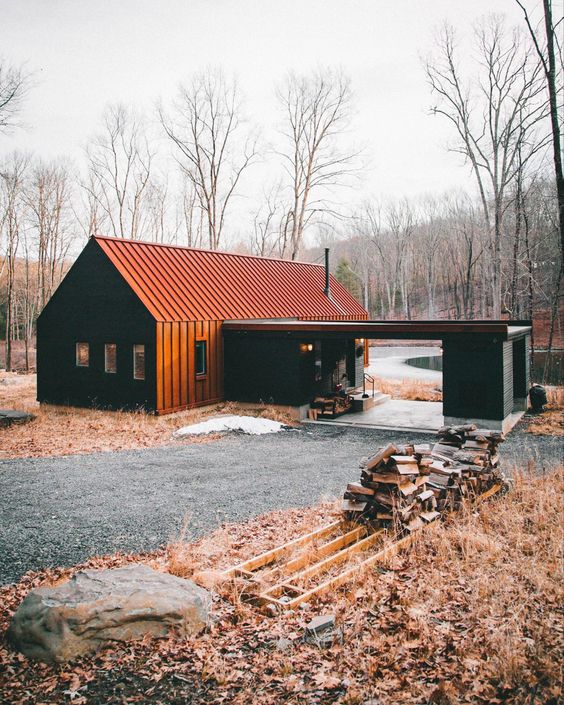
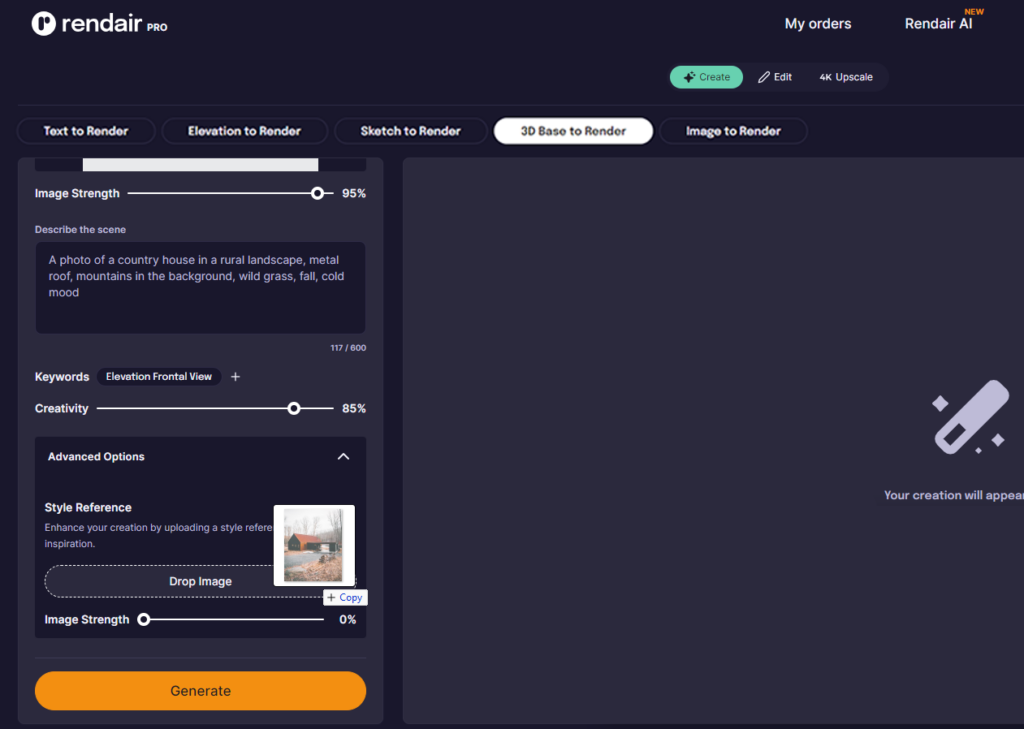
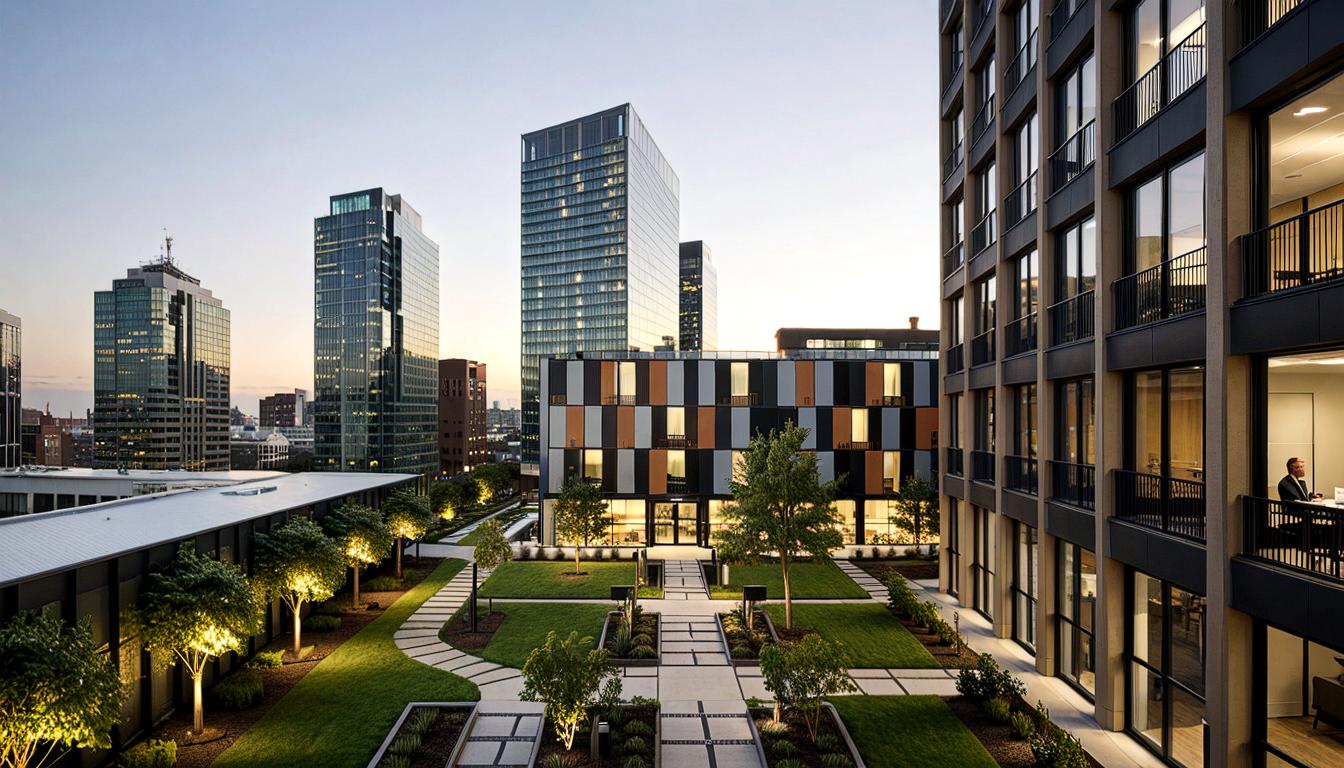
So, Click the Advanced Options and you will see a place to upload the reference image. I will just drag my image to there as a reference and set the creativity parameter to around 30 because I want the AI model to incorporate the reference but not replicate the exact image.
And let’s generate: