Step 1: Gather Your Materials
- A tape measure for accurate measurements
- A carpenter’s level to ensure that your frames are leveled
- Two-picture hooks per frame for secure hanging
- Two D-rings per frame for sturdy hanging
Step 2: Choose Your Picture Arrangement Style
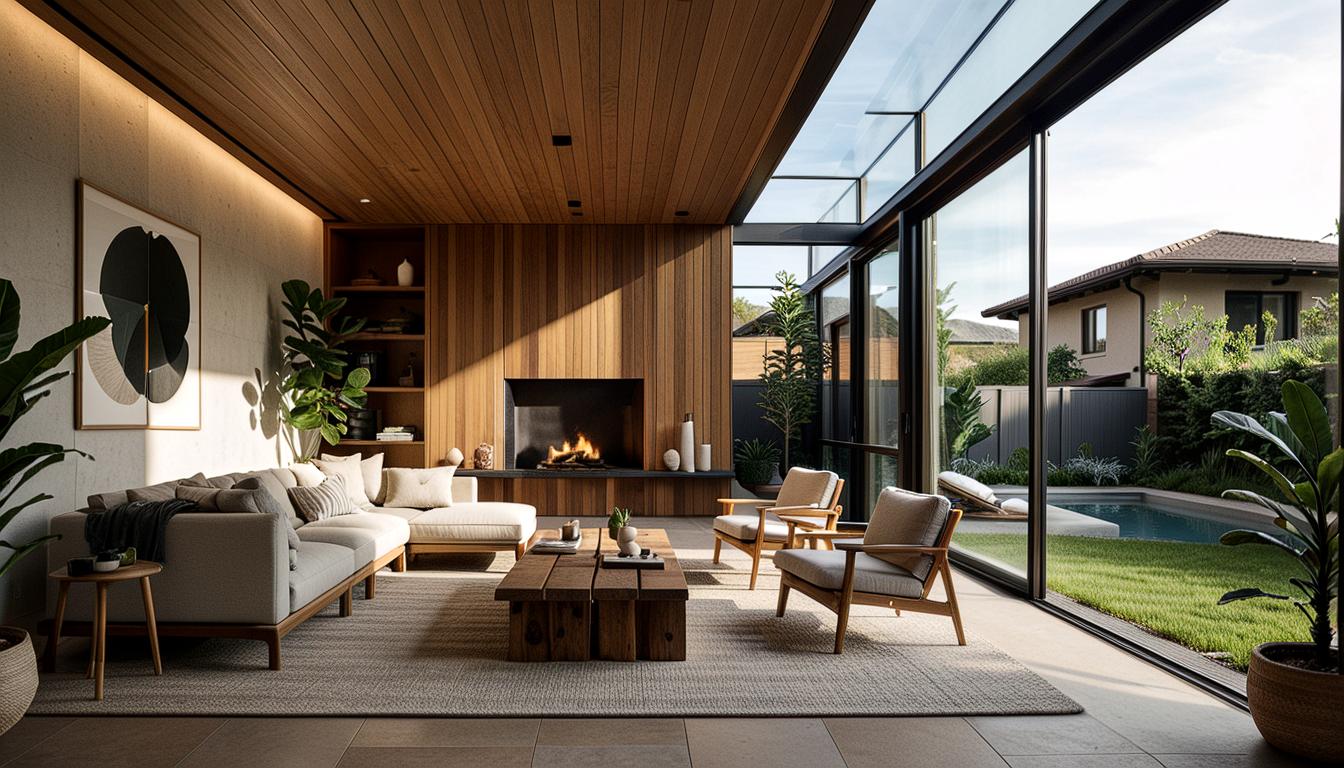
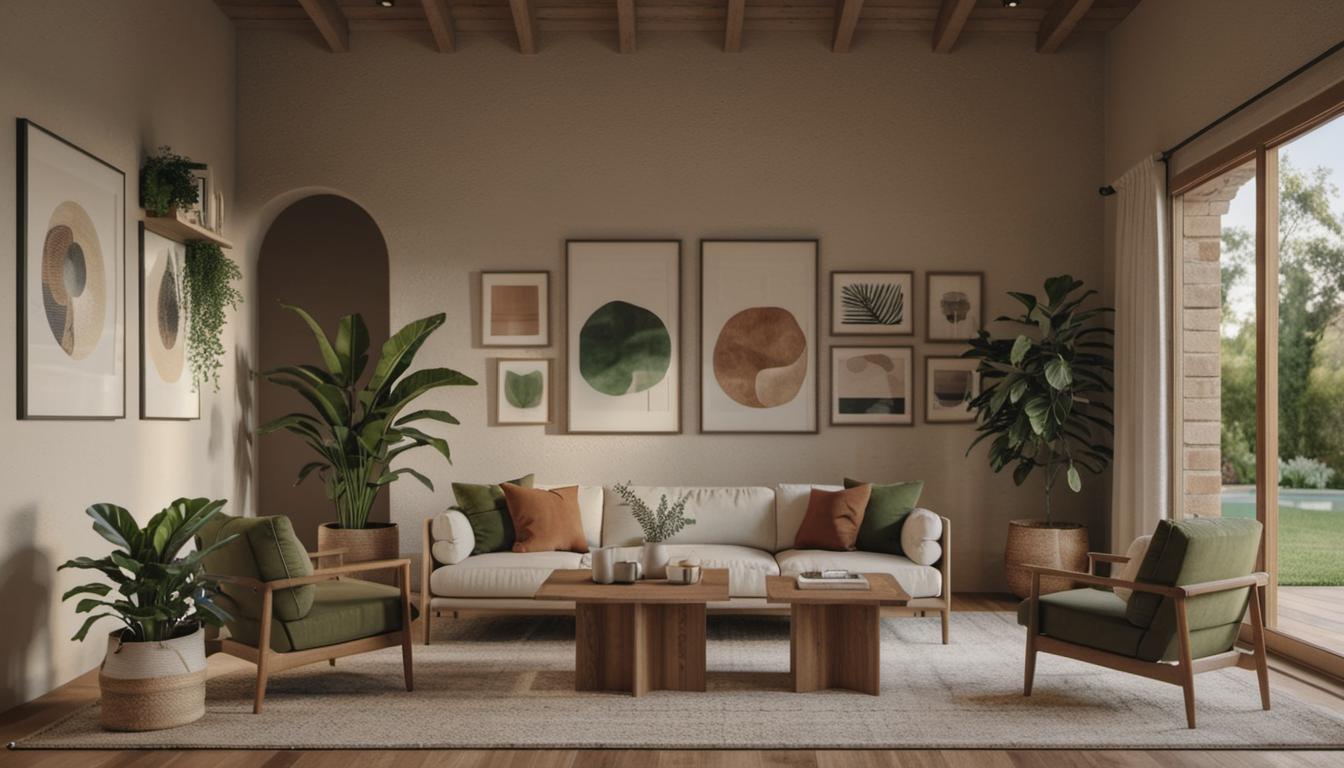
Think about the design style you are aiming for. An intricate grid can offer a formal, crisp look, perfect for showcasing artistic paintings or professional photos. For a relaxed, cozy ambiance, consider hanging a collection of pictures within a set square or rectangle. It’s worth noting that how you arrange and space your pictures can significantly affect the room’s overall vibe.
Step 3: Accurate Measuring and Marking
When hanging your pictures, aim for the general eye level. Ideally, place the center of the picture 57 to 60 inches from the floor. Employ two picture hooks per frame to ensure stability and to keep your art from tilting.
Step 4: Cohesive Layout in Mind
Harmony is crucial in your picture arrangement. Maybe your pictures share a consistent color palette, or perhaps you’re choosing to unite them through similar frame styles. Either way, try shifting them by a few inches to refresh the ambiance within the room, and ensure every picture complements the overall design or theme.
Step 5: Let’s Hang Those Pictures!
Having attached the D-rings comfortably on the back of every frame, mark your predesignated points on the wall where your hooks will go. Now hang your frames. Pairing your pictures or using groups of 2, 3, or 4 can build a mini collection within the wall, thereby bringing in an extra layer of visual intrigue.

Creating a Majestic Gallery Wall
Do you need more room for a gallery wall? If so, note the following steps:
- First, assess the wall space that your gallery will occupy.
- Arrange your artworks within the marked area, either on the floor or on a large sheet of paper.
- Start with your largest piece – make it a focal point in the collection, then add the remaining pieces.
- Experiment with vertical and horizontal pieces to keep the layout captivating.
- Use pairs or groups of pictures to create a mini insight within your gallery wall.
Answers to Frequently Asked Questions
Here are some quick answers to the various queries you may have while arranging pictures in your living room:
- What is the suggested height for hanging pictures?
- Generally, the center of your picture should be placed 57 to 60 inches off the floor for a standard eye level hanging.
- What materials are I need for hanging pictures?
- For hanging, you will need a tape measure, a carpenter’s level, two picture hooks per frame, and two D-rings per frame.
- How can I get a formal look in my picture arrangement?
- For a formal look, consider a precise grid. This means that your pictures will often be horizontally centered between two points.
- How should I arrange pictures above furniture?
- For a cohesive look, try shifting pictures by a few inches. The slight change makes the room feel more cozy.
- What should I keep in mind when creating a gallery wall of pictures?
- Remember the space it will fill, your choice of art pieces, the color palette, orientations, and a mix of frames.
Whether you’re a seasoned designer or just beginning your decor journey, we hope our best tips for arranging pictures in your living room have been helpful. Begin transforming your walls into stunning centerpieces today!